Check expense tracking in FreshBooks
Creating a new check in Checkeeper can automatically record the expense in FreshBooks
Add FreshBooks
Visit the Add Ons section in your Checkeeper account
Visit the Add Ons section in your Checkeeper account
1) Log into your Checkeeper account, and click the Addons tab.
2) Click Add FreshBooks from the listed Add Ons. You will be taken to FreshBooks.
3) Follow the steps inside FreshBooks to authenticate Checkeeper. You will be redirected back to Checkeeper once finished.
FreshBooks is the #1 accounting software in the cloud, designed exclusively for freelancers and growing service-based business owners. Automate invoicing, organize expenses, track time and accept credit cards online with just a few clicks. FreshBooks helps you grow your business, gets you paid 2x faster and keeps you and your team organized, efficient and collaborative. Start a free 30-day trial today.
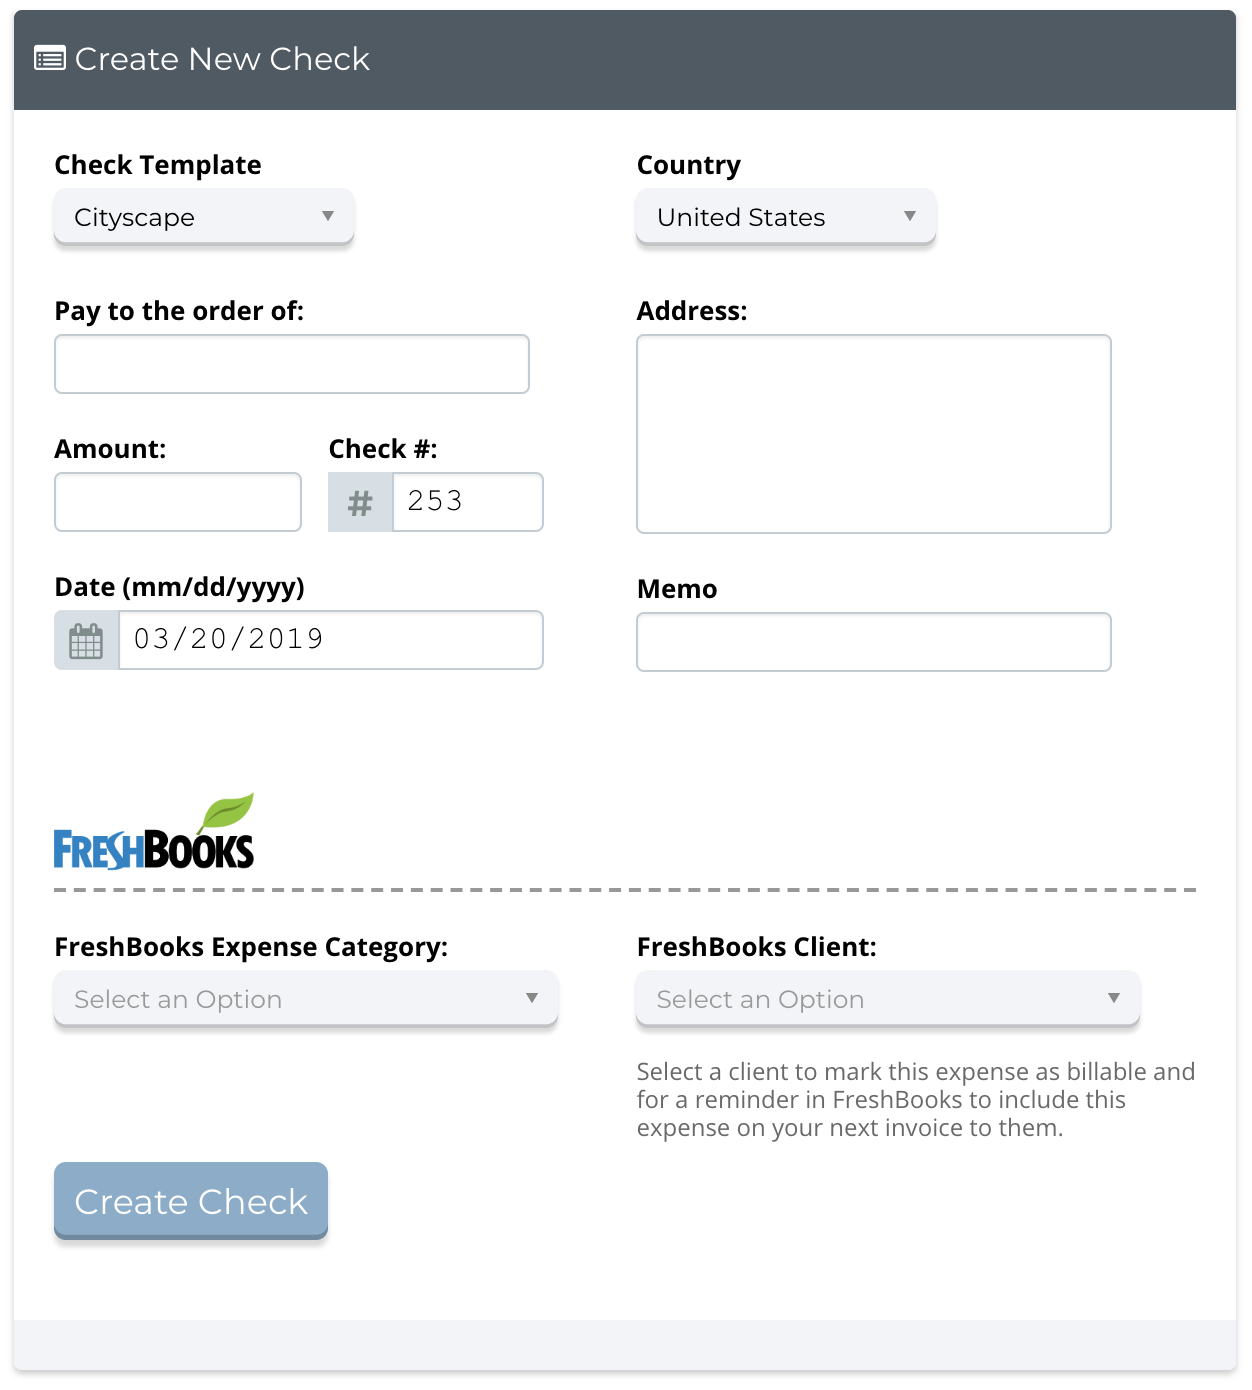
1) Click the New Check button in your registry.
2) Enter check payment information
3) Select a FreshBooks Expense Category. These categories are automatically pulled from your FreshBooks.
Optionally, select a FreshBooks client to associate the billable expense with. If none is selected, the expense won't be marked as billable.
4) Click Create Check to save the check to your registry, and send the expense information to FreshBooks