Mail Checks Anywhere with Checkeeper
Ready to get those checks mailed out? Well, you've come to the right place! This post is going to walk you through how to set up your account for mailing, how to purchase credits, and lastly...how to mail out those checks! We'll start off with setting up your account for mailing. If you've already been using Checkeeper for printing, scroll down to "Step Two" and you can begin following the steps from there.
Mailing your checks using Checkeeper saves you money AND time, what more could you ask for? All you need to do is create your checks online and submit them for mailing. This saves you the hassle of printing, folding, enveloping, and stamping; we'll take that part off your hands!
Step One: Set up Your Checkeeper Account for Mailing
Step one is for someone who has just created a Checkeeper account and is in the onboarding process. If you already have your account set up for printing, that's great, just scroll down to the "Step Two" section of this post.
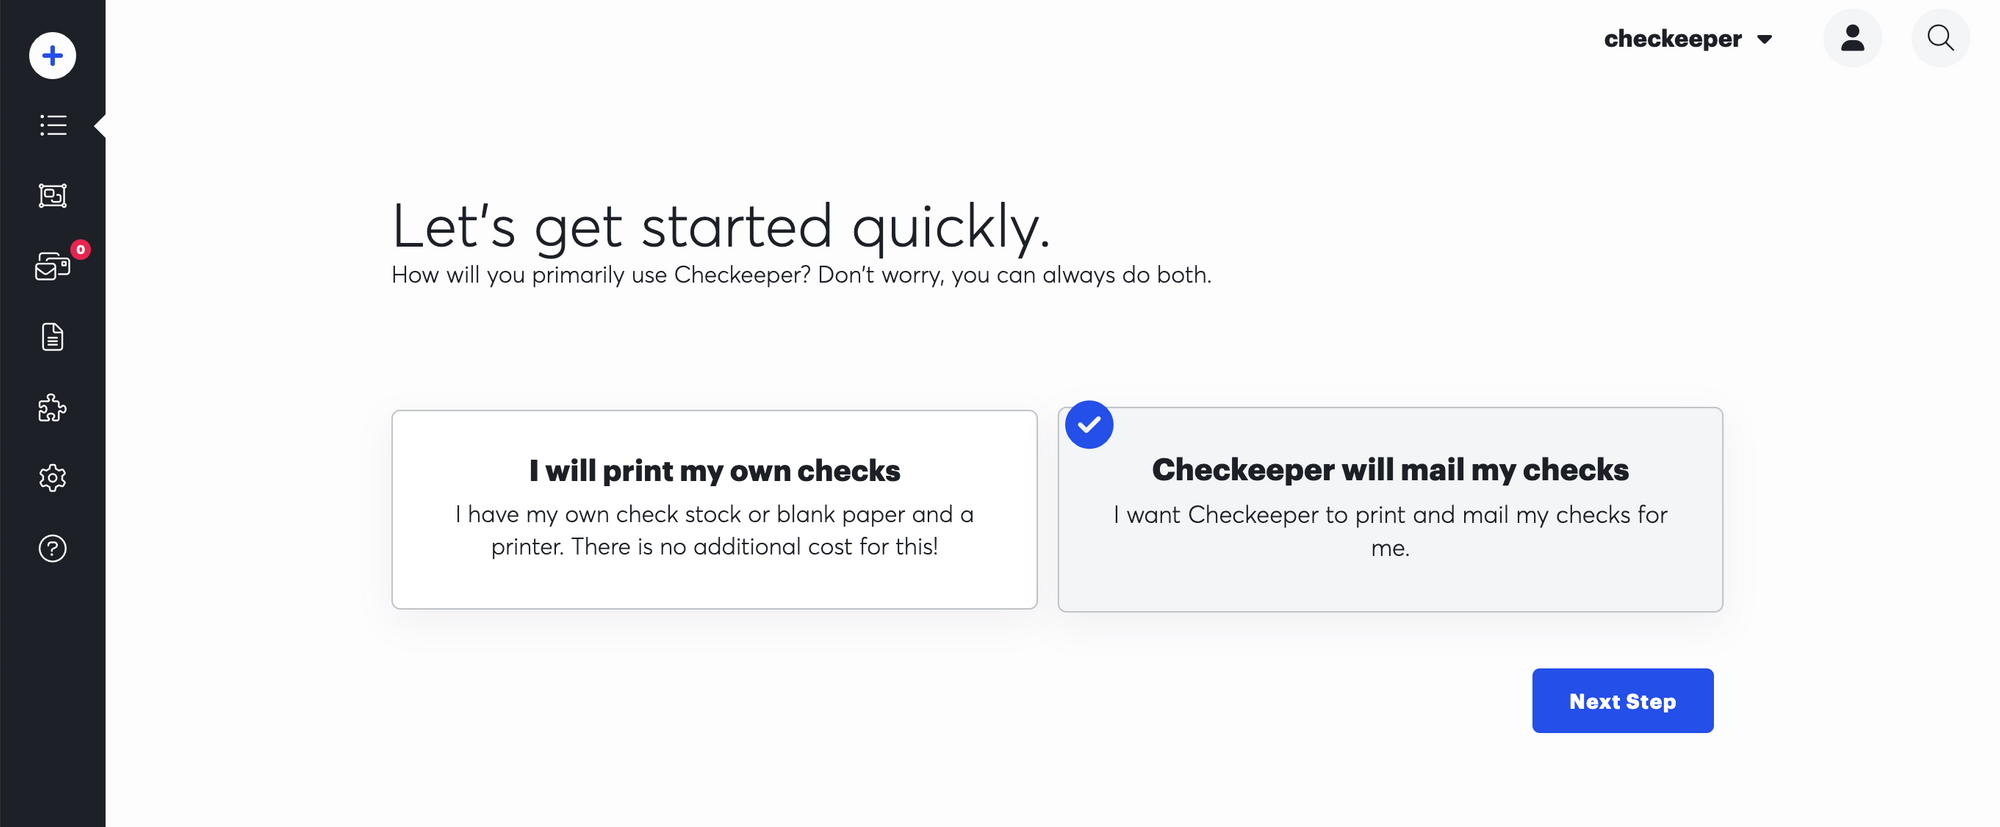
When you log into Checkeeper for the first time, you'll be asked whether you'll be printing or mailing your checks. You can always do both, but this just helps get you set up for one or the other. So for now, let's choose Checkeeper will mail my checks.
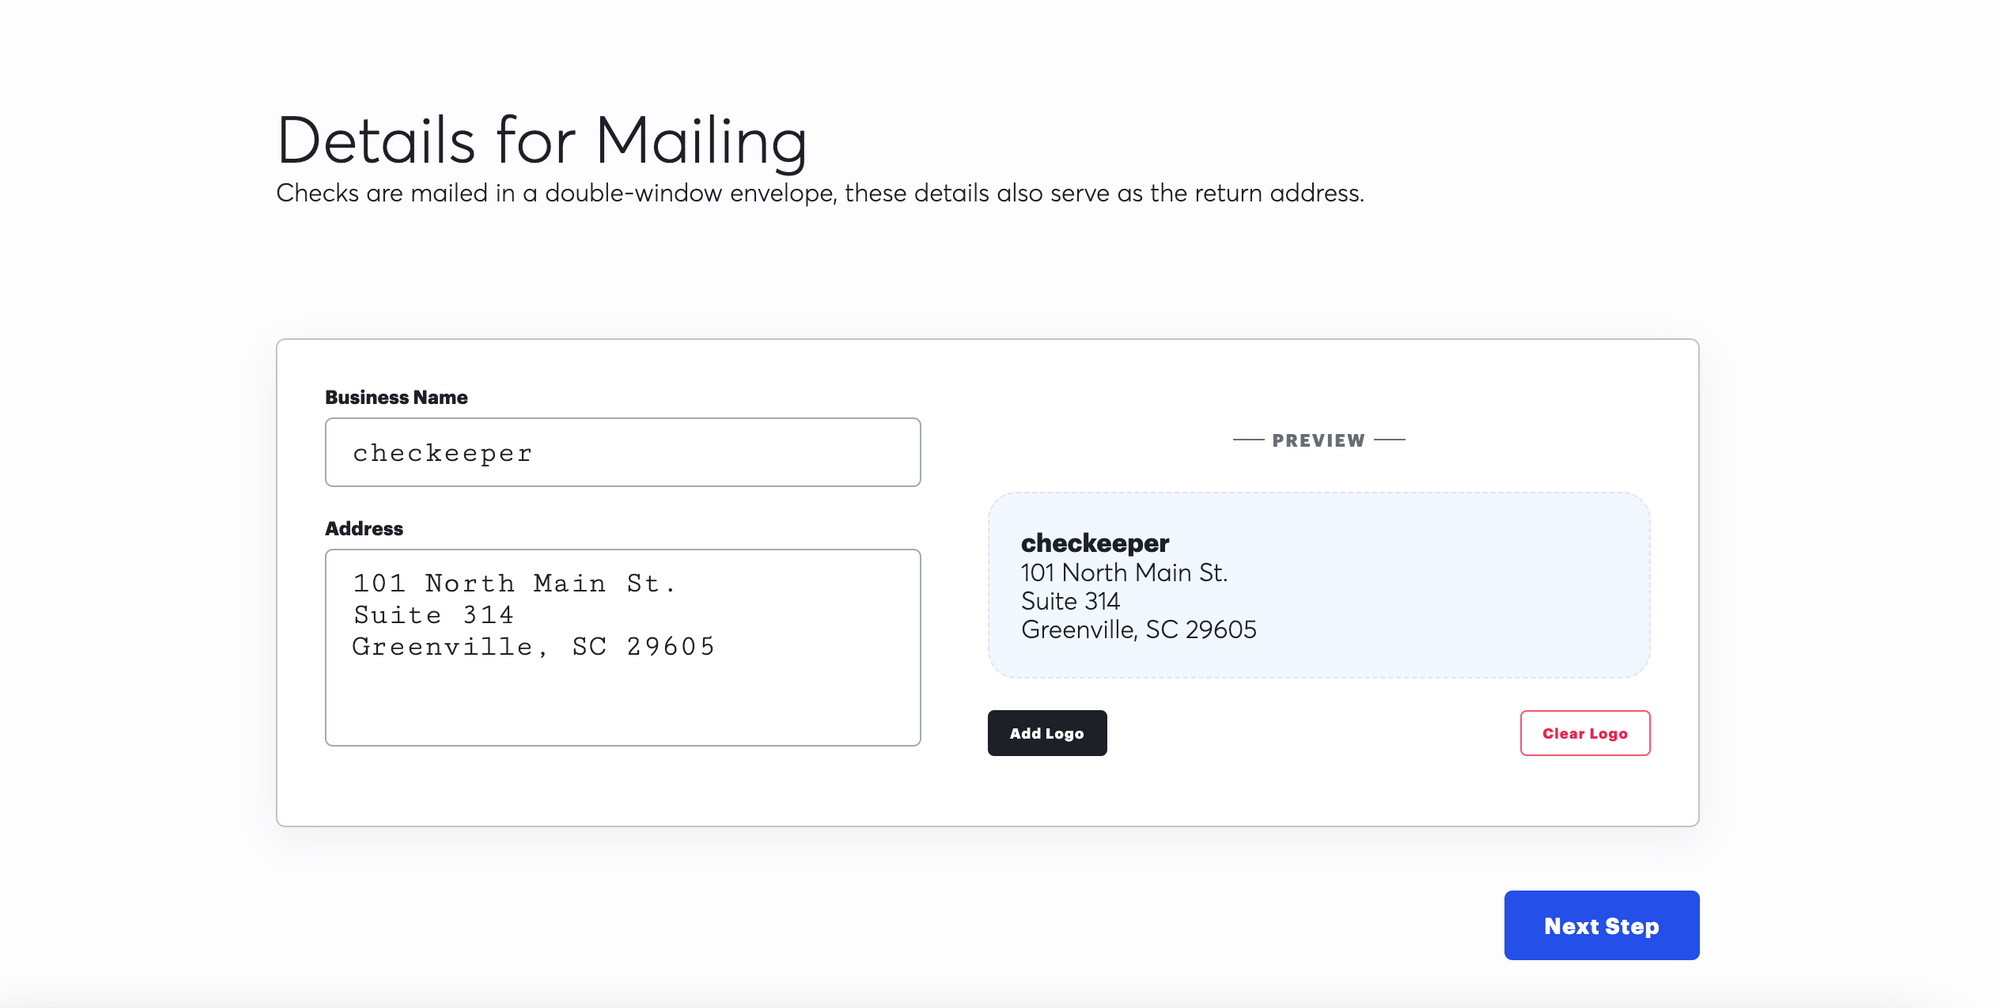
Enter your business name and address, and add a logo if you wish.
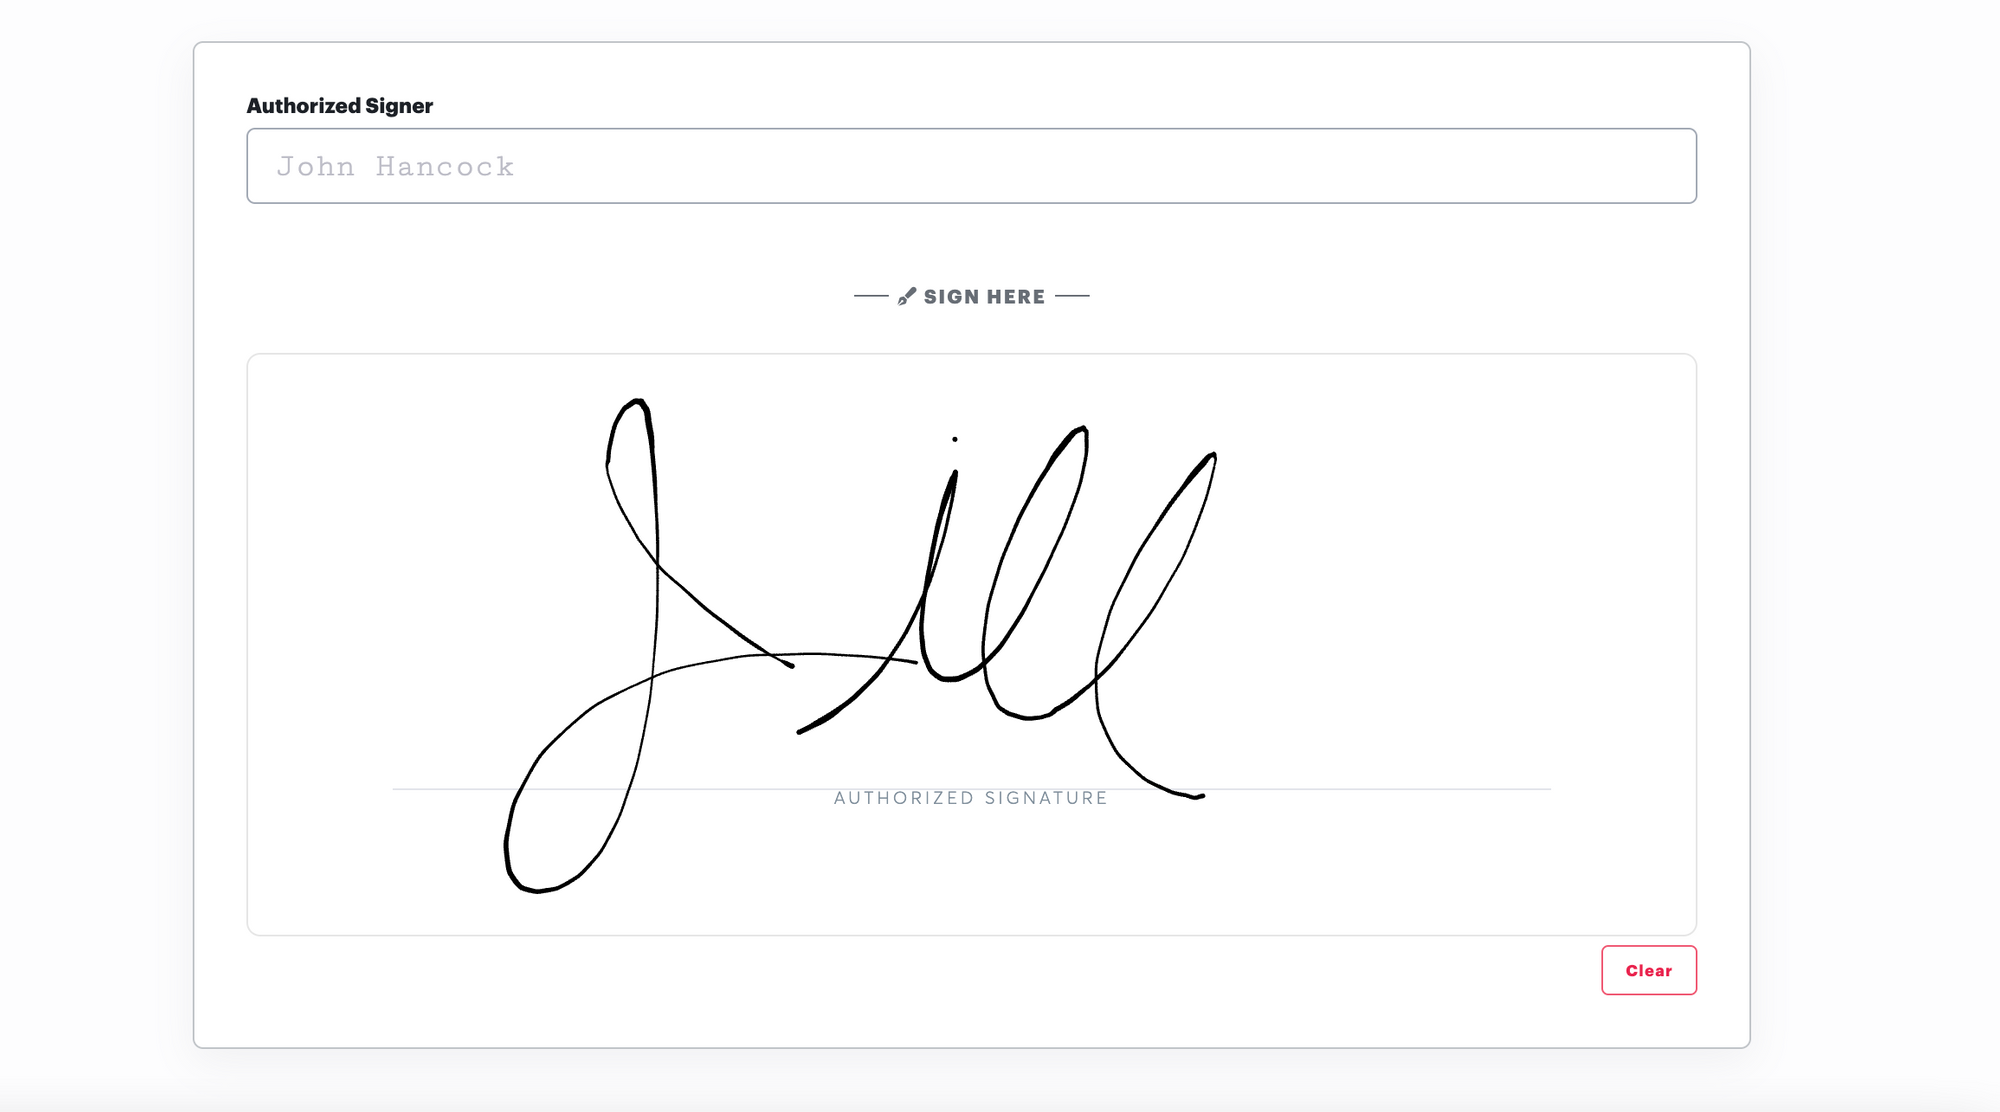
Next, add a signature. You can either type it out or sign using your mouse.
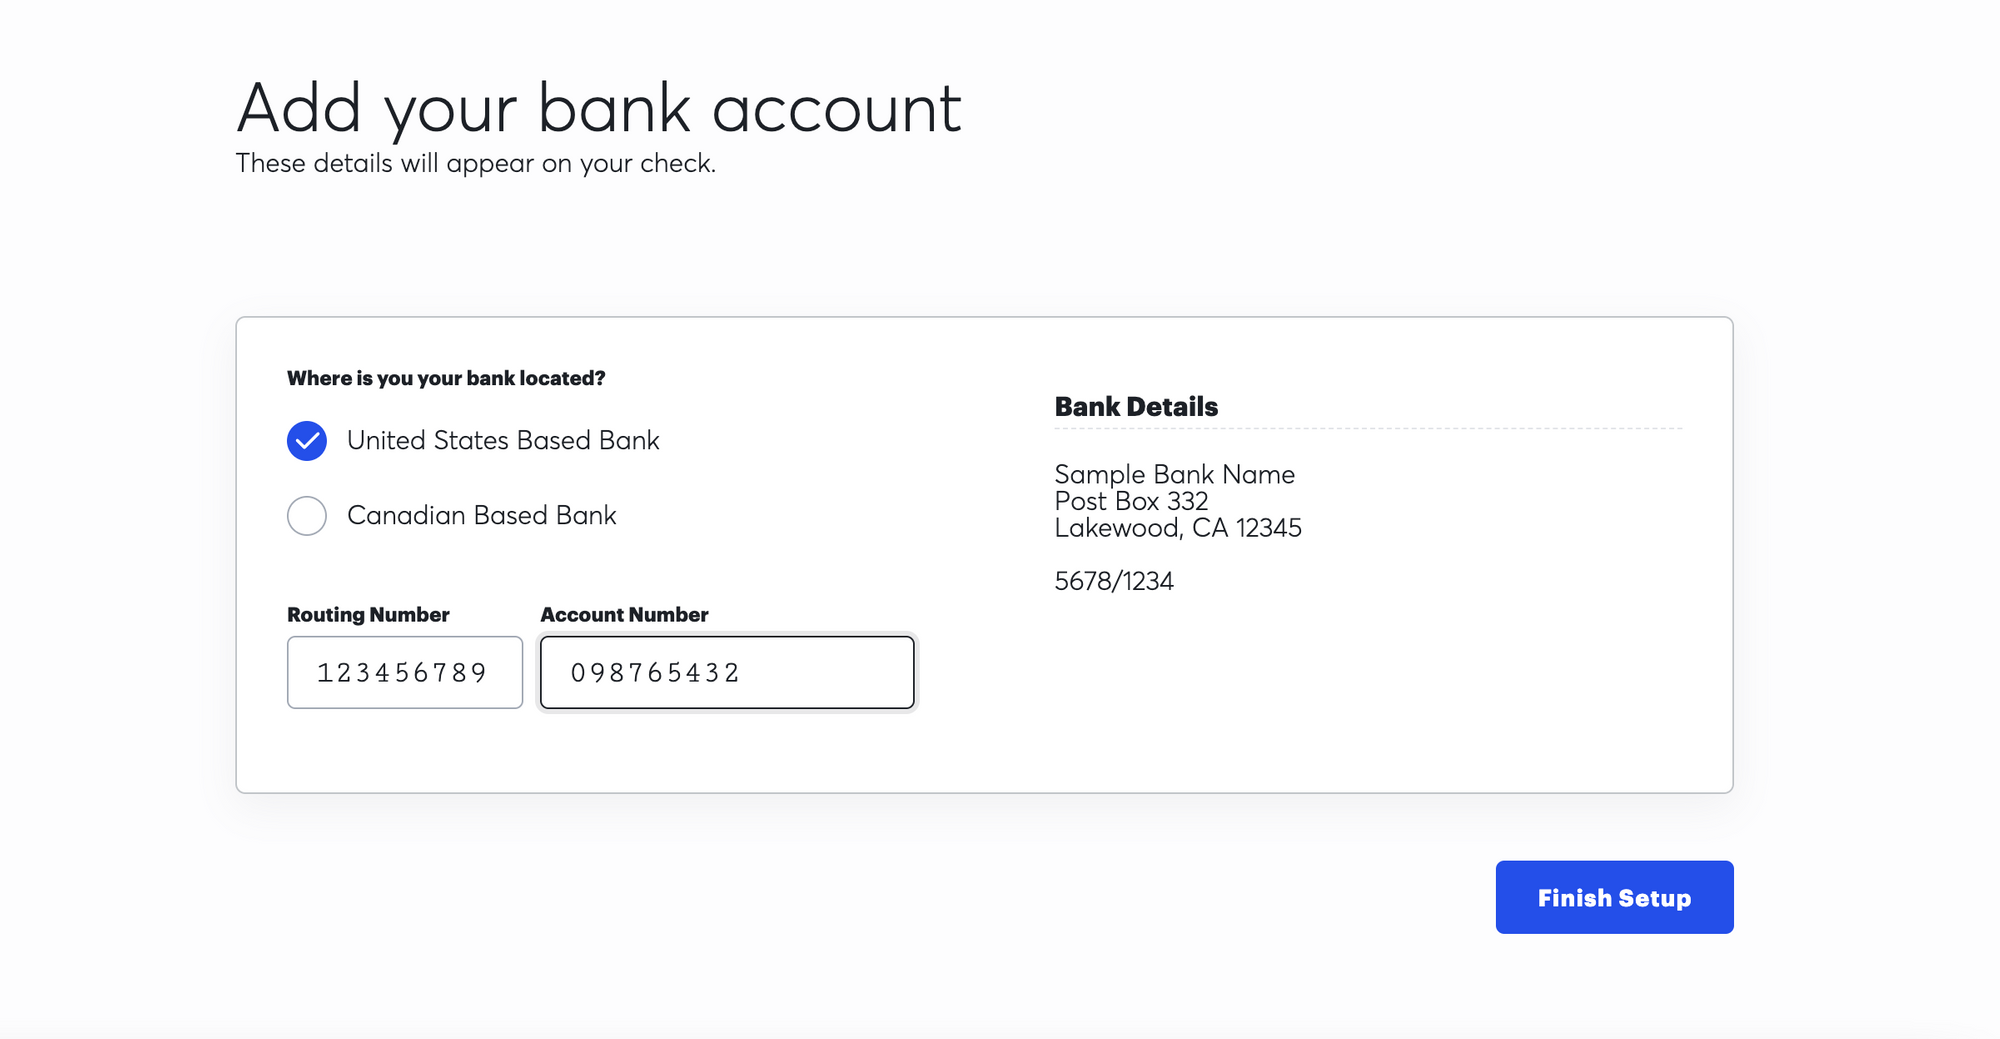
Lastly, add your routing and account numbers.
Step Two: Purchase Mailing Credits
To mail a check using Checkeeper, you'll need to purchase mailing credits. One credit is equal to one check printed, stuffed in an envelope and mailed first-class with the United States Postal Service. Extra services cost extra credits.
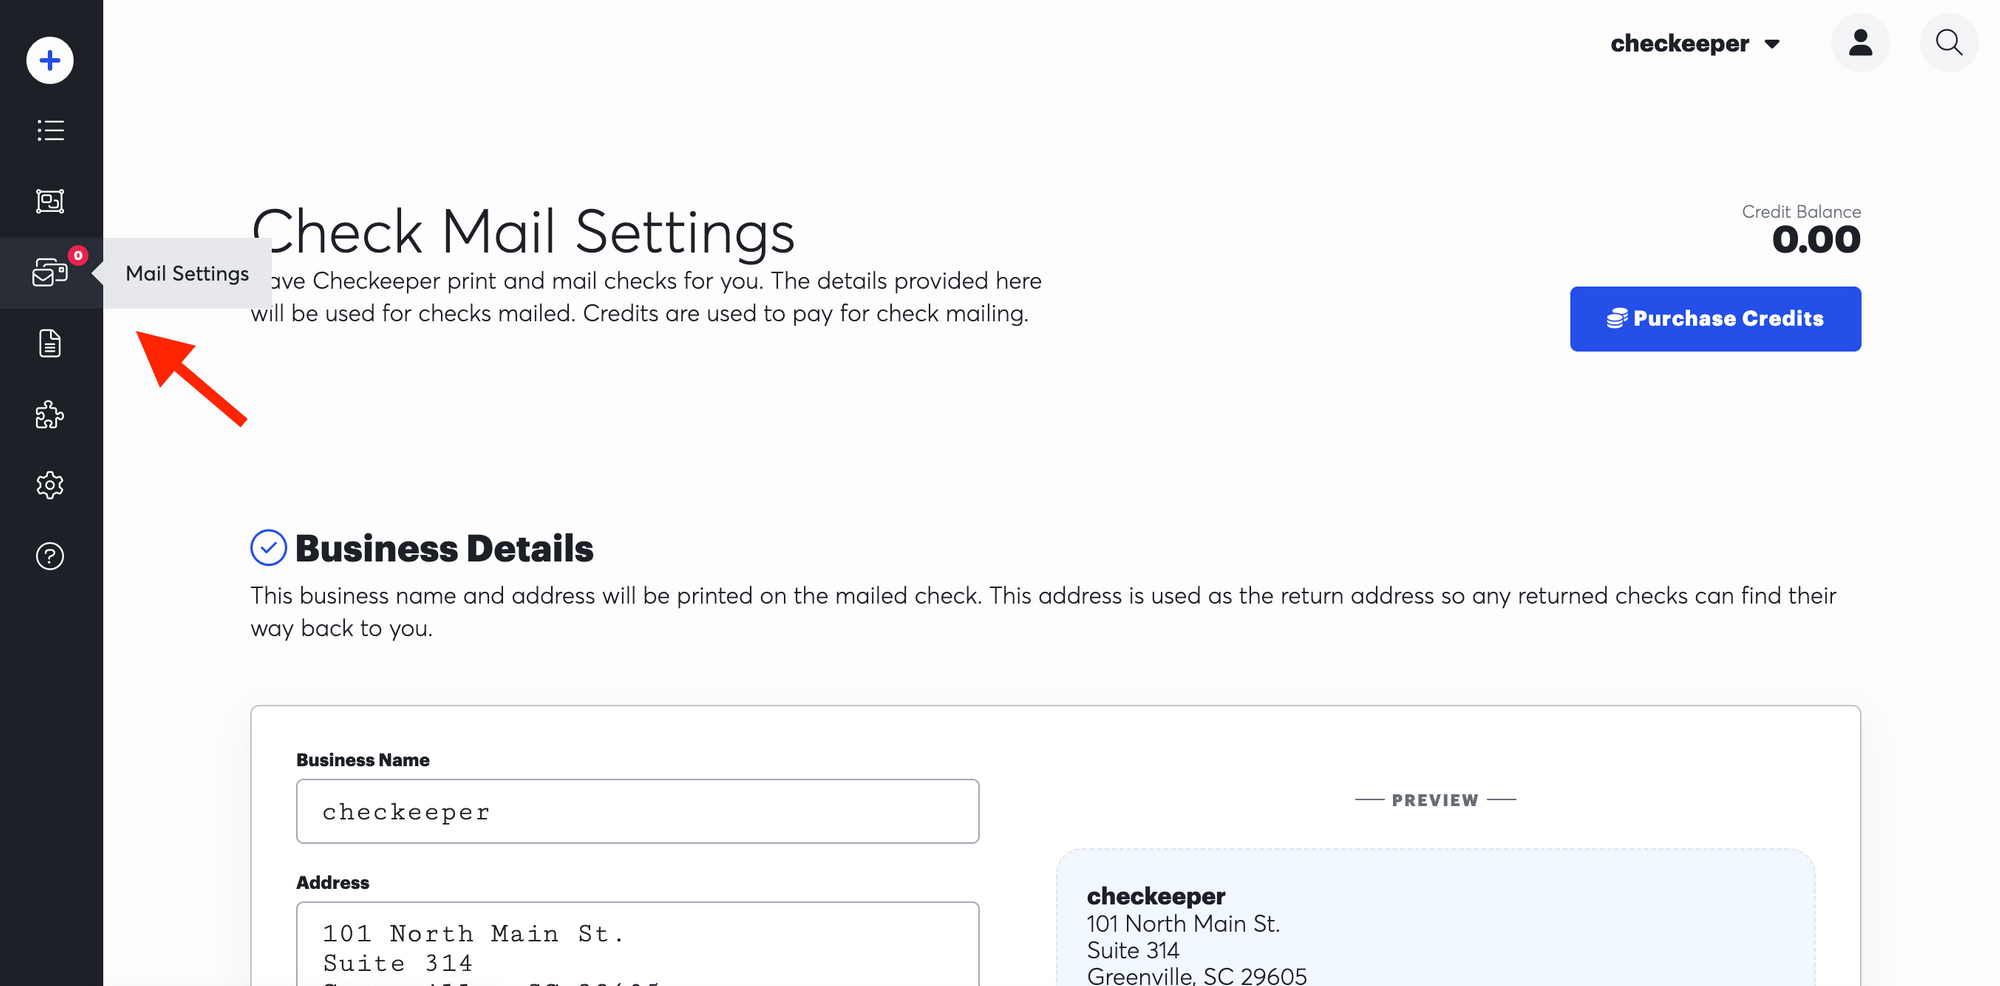
Head into your Mail Settings from the main navigation. Here you can add or edit your business details, your check logo, your routing and account numbers, and also your check signature.
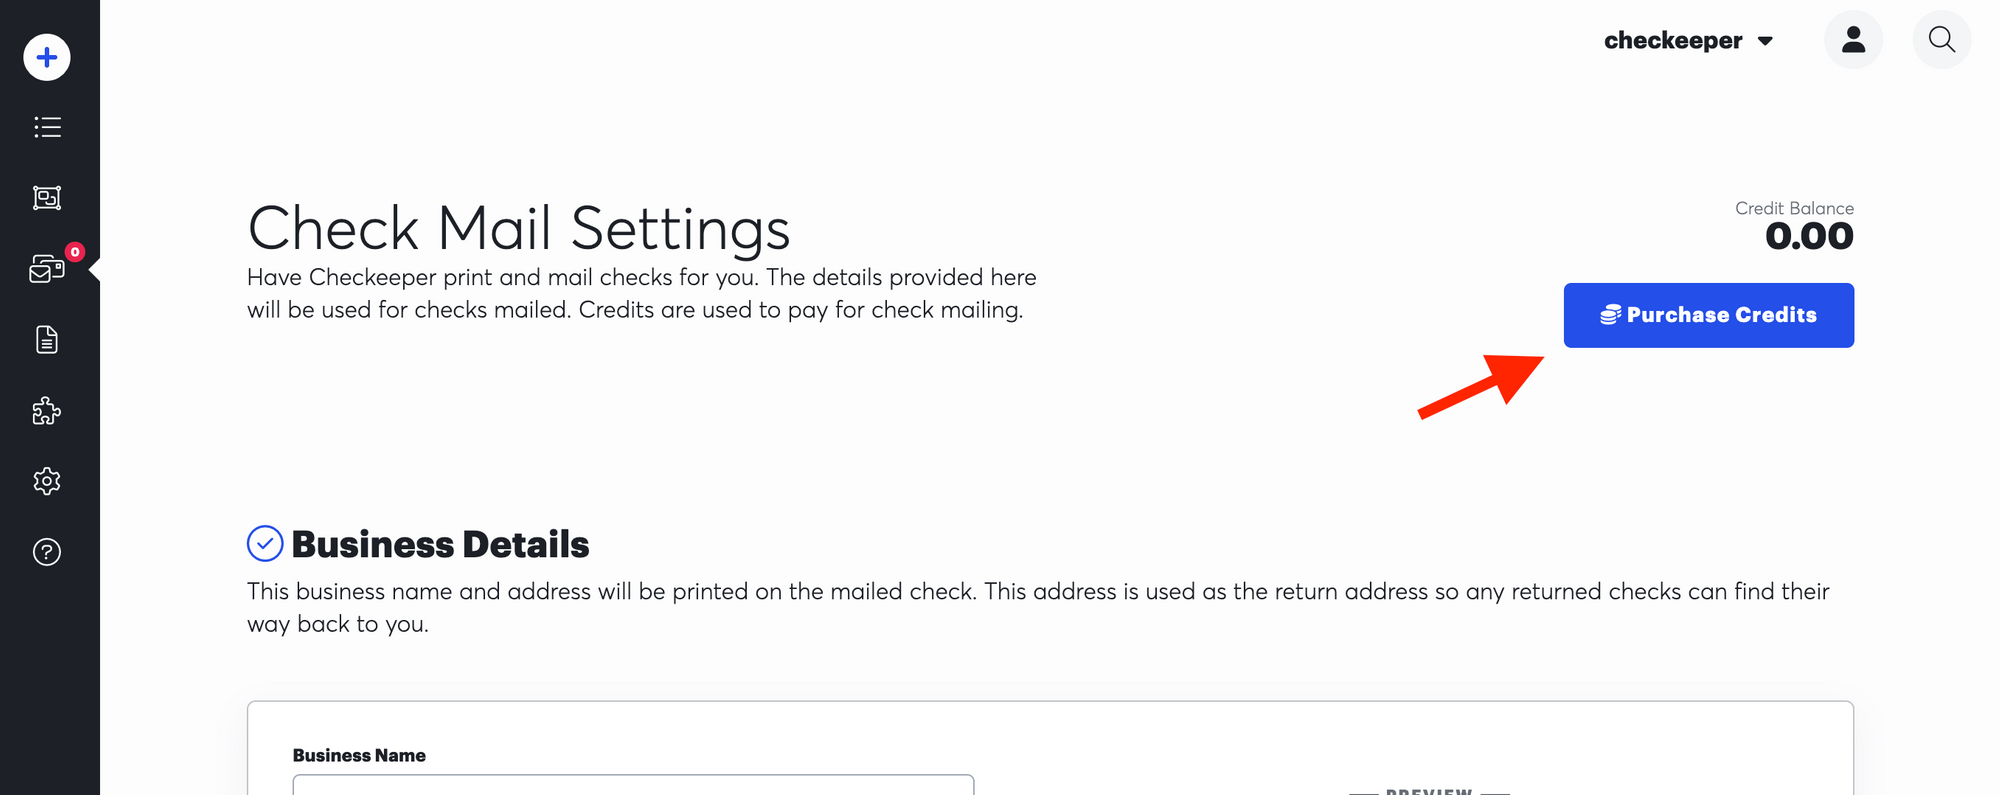
Click Purchase Credits.
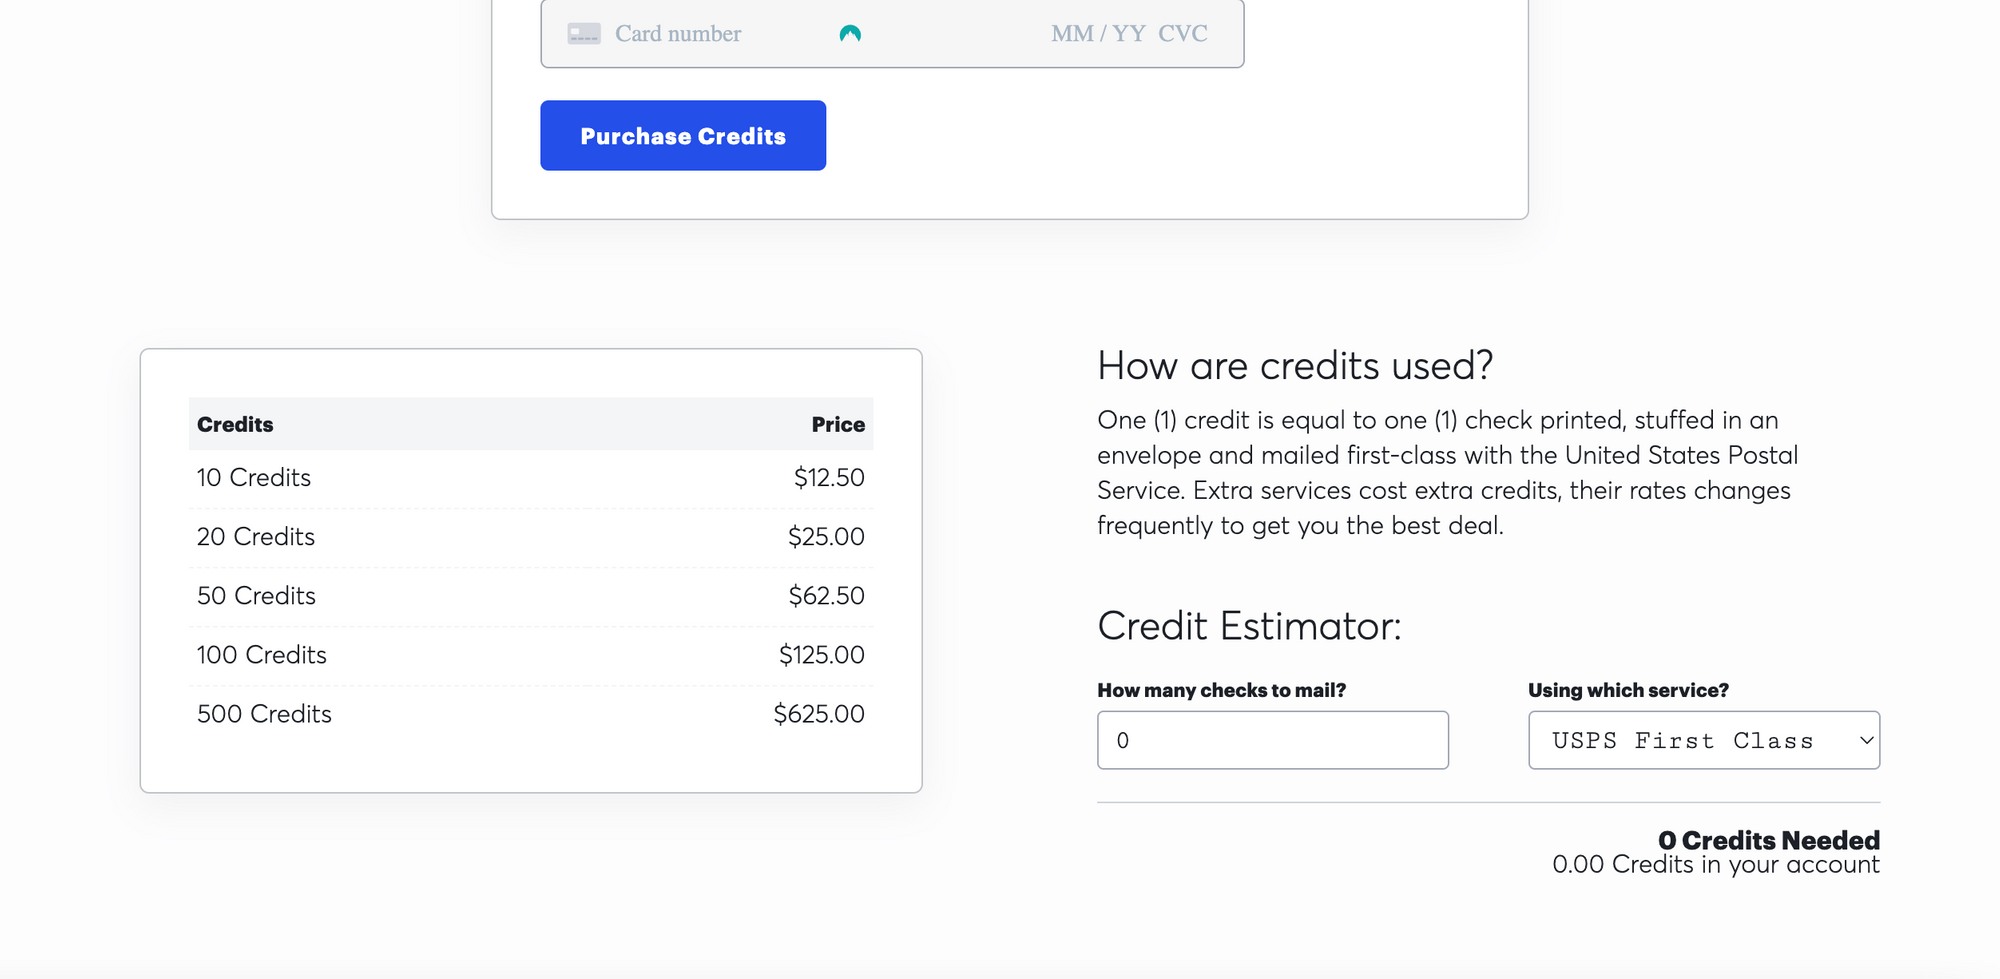
Here on the credit page you can see your credit purchasing options. Depending on which delivery method you choose, the pricing may differ. To calculate how many credits you'll need, feel free to use the Credit Estimator in the bottom right corner.
After purchasing your credits, you'll see the total count located on your main navigation.
Step Three: Mail Checks!
Now would be the time to create the checks you'd like to mail out, if you haven't yet. Click here for a video that will give you a step-by-step on how to create a check.
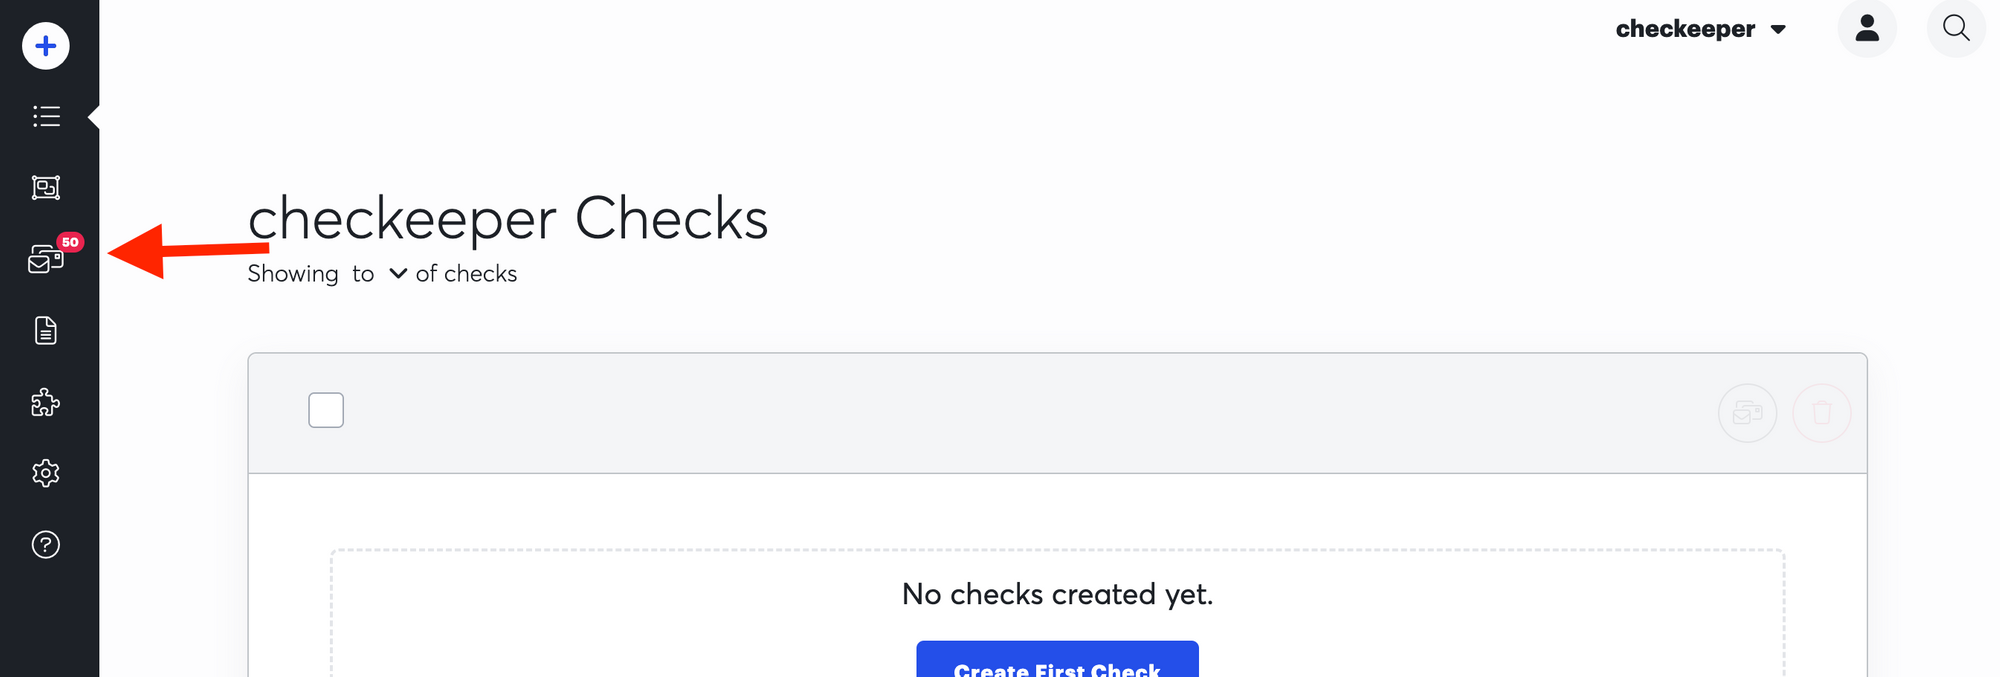
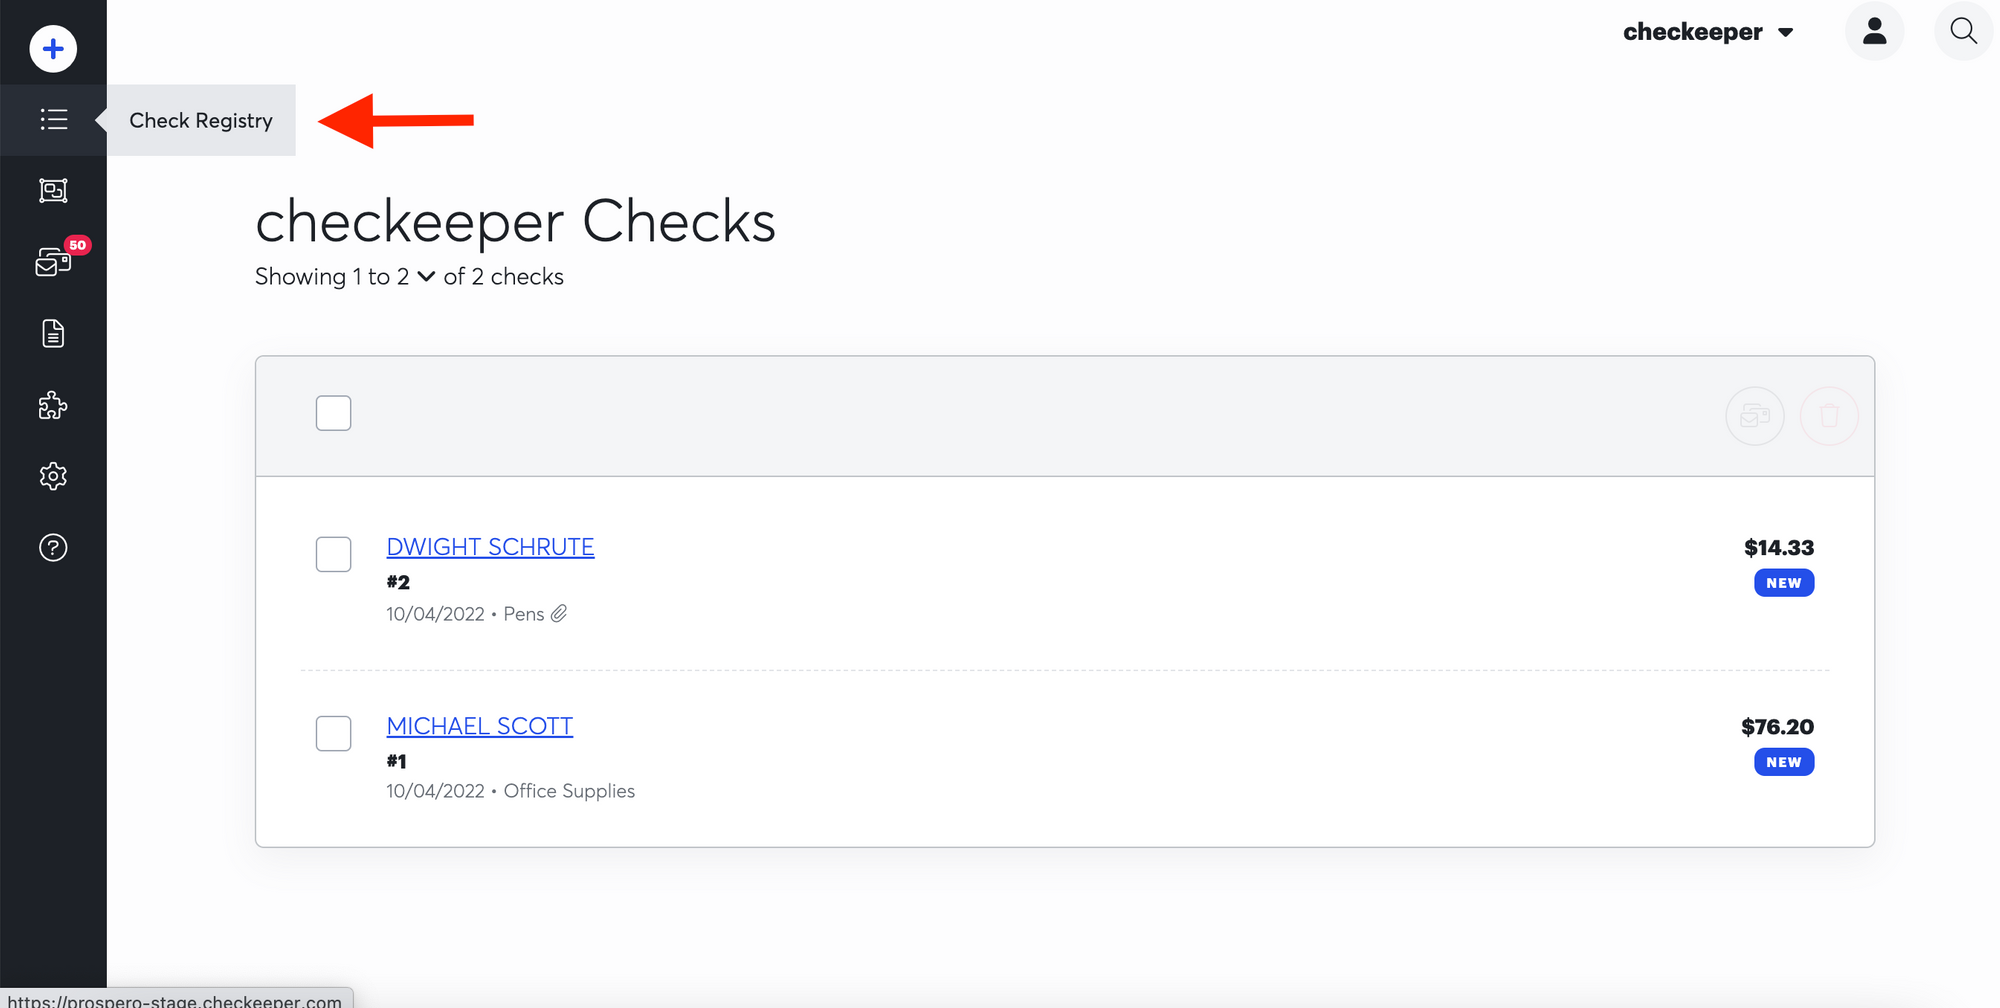
Once you have your checks ready, head into your Check Registry in the main navigation.
Now, select the check(s) you'd like to mail.
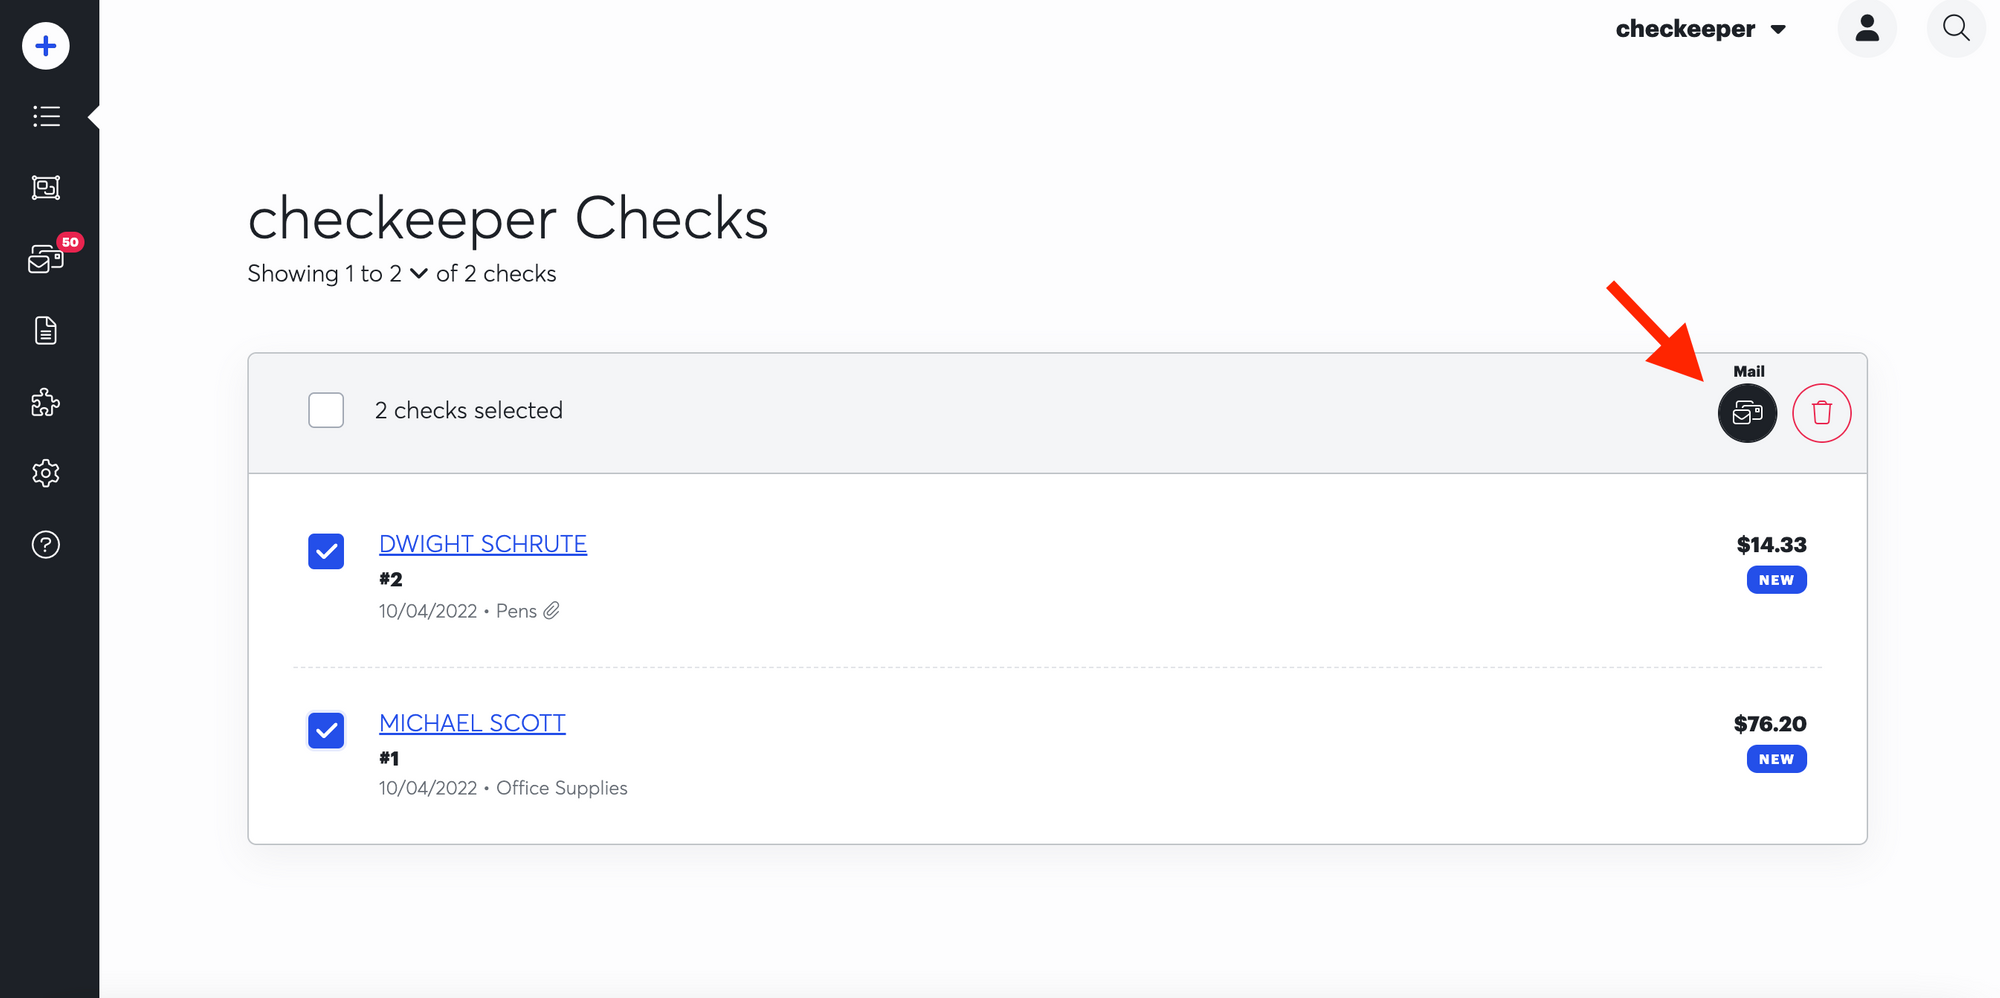
Click the mailing symbol in the top right corner.
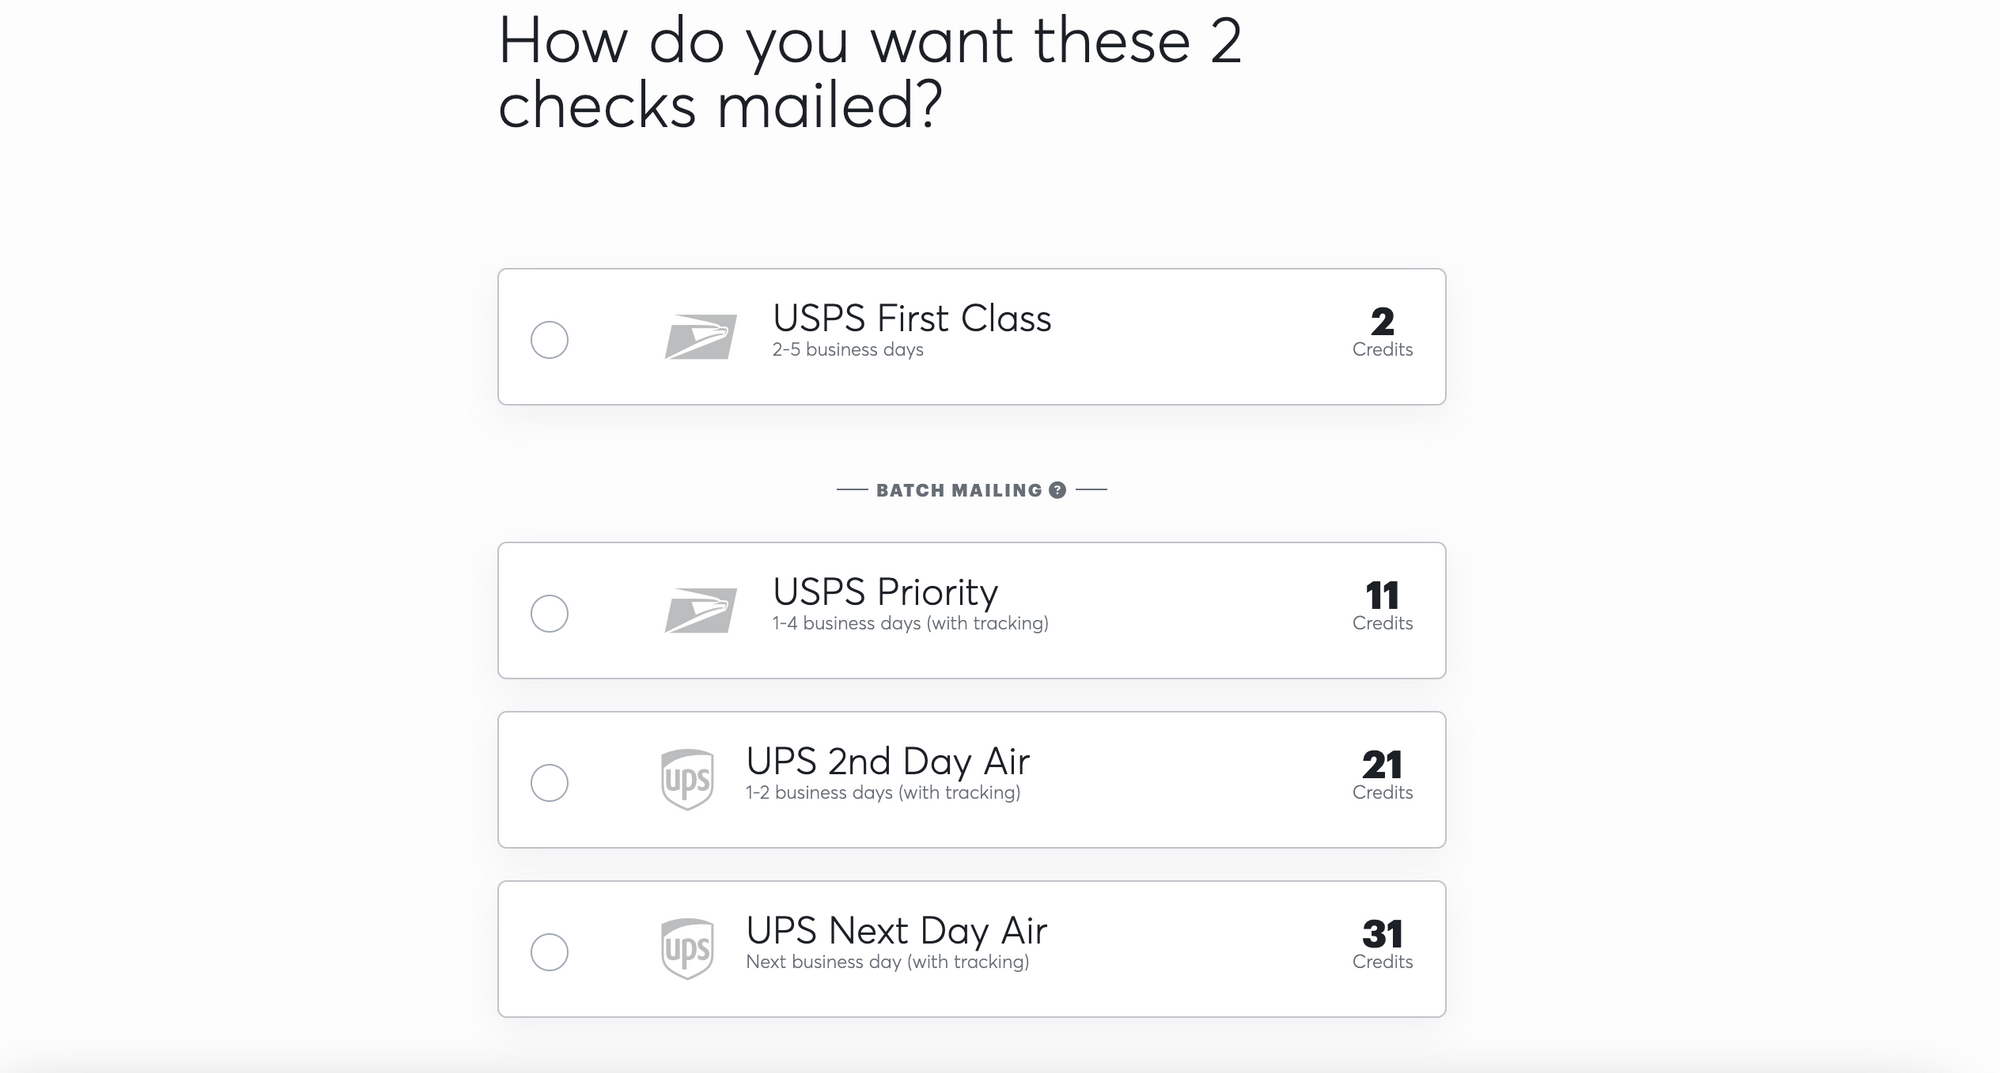
Choose how you'd like your check(s) mailed. Click here to see a break down of the mailing methods Checkeeper offers. USPS is what we suggest when mailing a single check; this will get your check where it needs to be within 2-5 business days. If you need your checks delivered sooner, we offer USPS Priority, UPS 2nd Day Air, and UPS Next Day Air. With these three options, you'll be provided a tracking number.
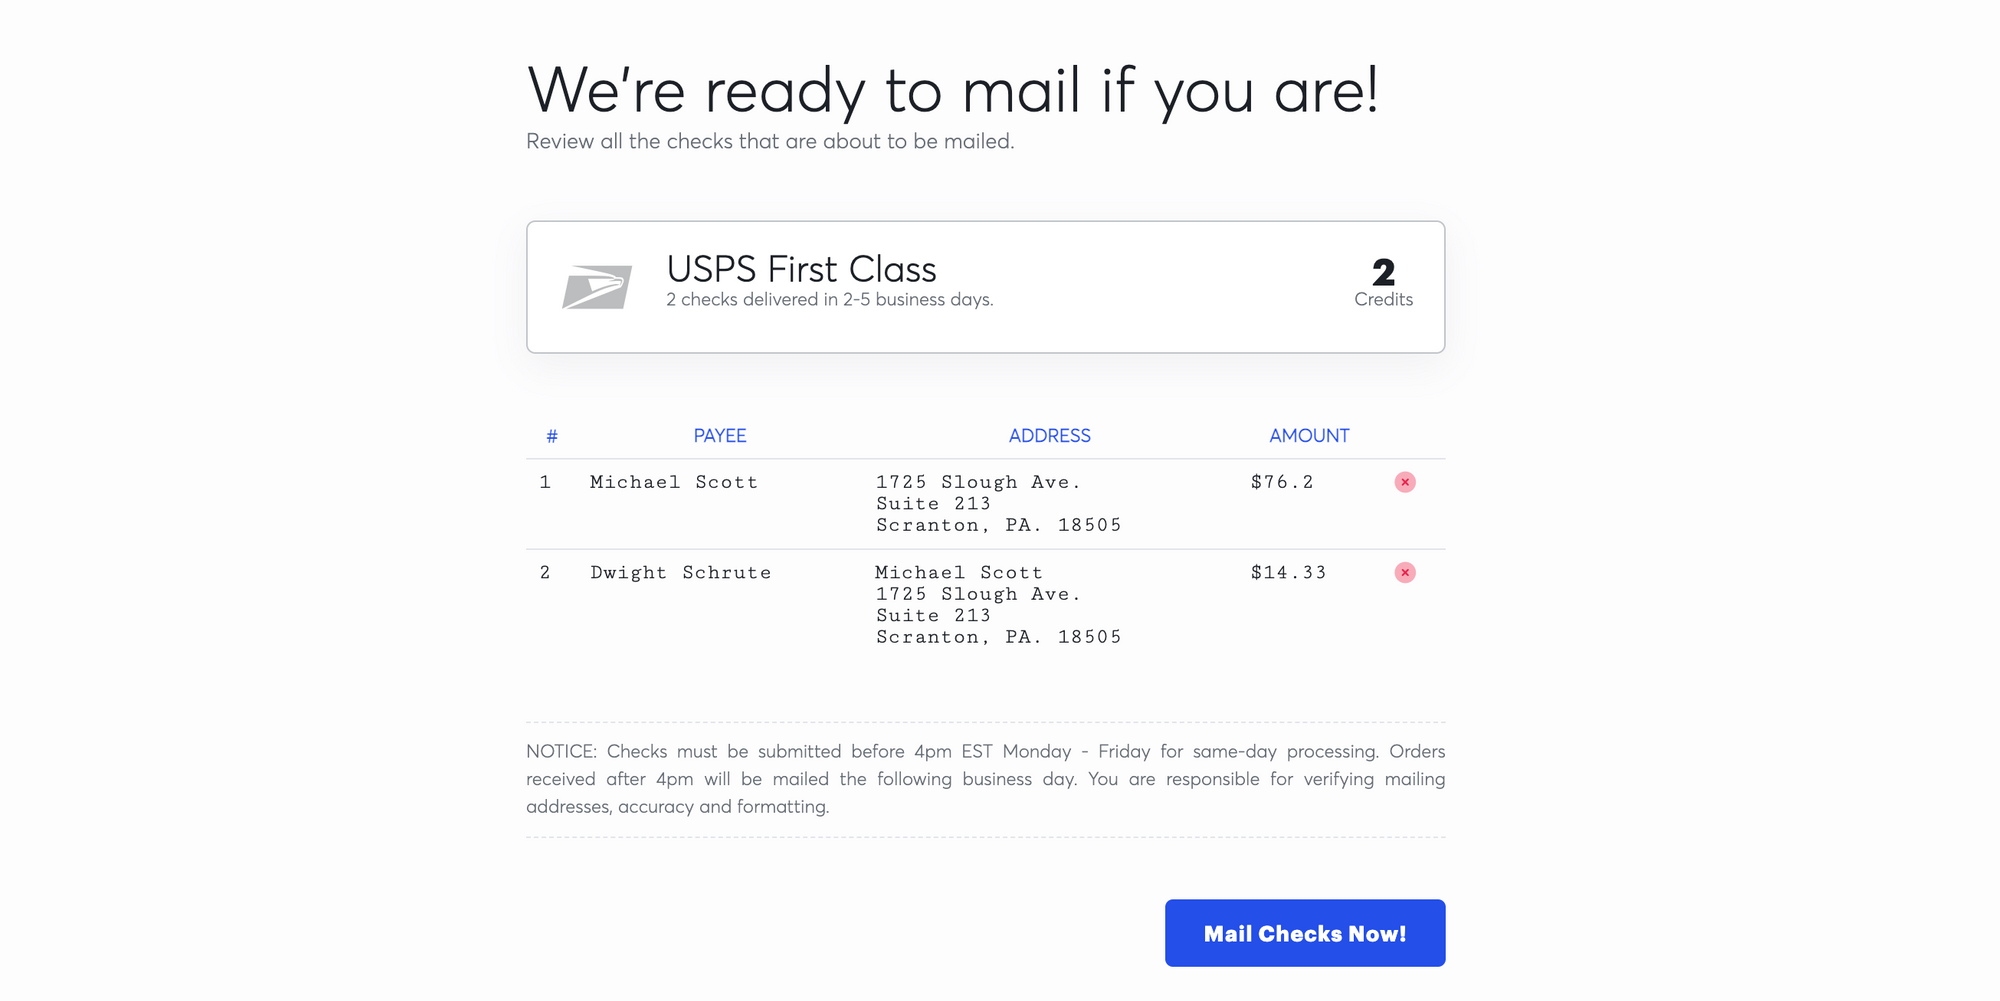
Once you've chosen how you'd like your check to be mailed, confirm all information is correct in the check summary and if so, click Mail Checks Now!
Yay! 🥳 Your work is done and we will handle it from here.