How To Create A Layout

Hooray! You created a check! If you plan to submit these to be mailed by Checkeeper, we love that for you, but this article doesn't pertain to that service. Email us at [email protected] to customize your mailing layout.
For all of our DIY printing users, learning how to set up a layout properly is an important skill to master, because checks won't print correctly unless the layout is set up the right way. Read on to learn how you can use our powerful layout editor to turn a simplistic check into anything you want. You have the vision, we have the tools.
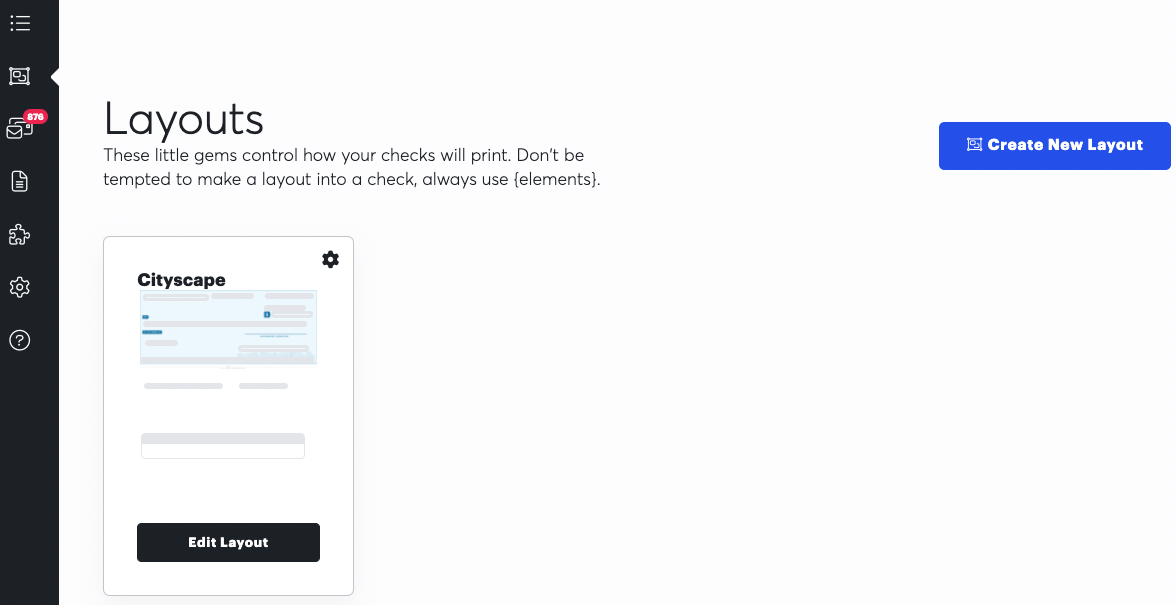
Click the “Layouts” button from your left side dashboard. To view all of the layouts we offer, click on "Create New Layout".
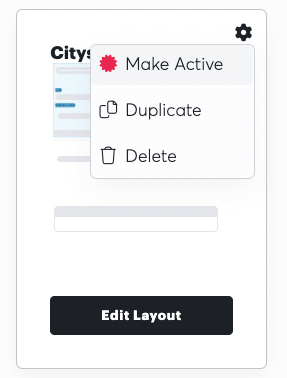
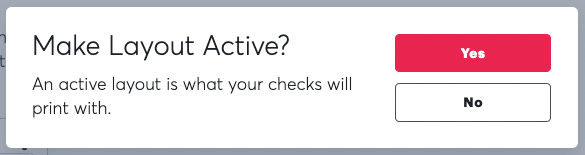
To select the layout you will print on, click on the settings pinwheel on the top right hand corner of the layout preview and select “Make Active”. The active layout will be the format for all of your printed checks. You can change this at any time by making a different layout active.
Which Layout Do I Pick?
Checkeeper provides users six layouts to choose from. The “Cityscape” layout is built for printing on blank paper. (Disclaimer: checks printed on blank paper may not be accepted at some establishments due to their own policies and regulations.)
The “Pre-printed” layout is ideal for printing on either blank or preprinted check stock. The “Simple” layout is for those that prefer a sleek, minimalistic look. The "Blank" layout is ideal for users who want to build their layout from scratch. The final two are a “Check-on-Bottom” and a Gusto-Payroll-themed layout.
For printing on blank paper:
- The backside of any Checkeeper check is intentionally left blank, because features such as the endorsement line and the security screen are not required for the validity of a check. A check is signed on the back, where you normally would, at the opposite end of the front signature.
- Our software is built with bank-level security and 256-bit encryption. We are HIPPA, PCI, and SOC II compliant, meaning we follow all of the regulations and requirements to the same extent that a bank would.
- That being said, if you prefer having the endorsement line on the back of your checks, download our back of check layout. Once you have print your checks, you can load them face down in your printer and then print this PDF for each check you need.
For printing on blank check stock or pre-printed check stock:
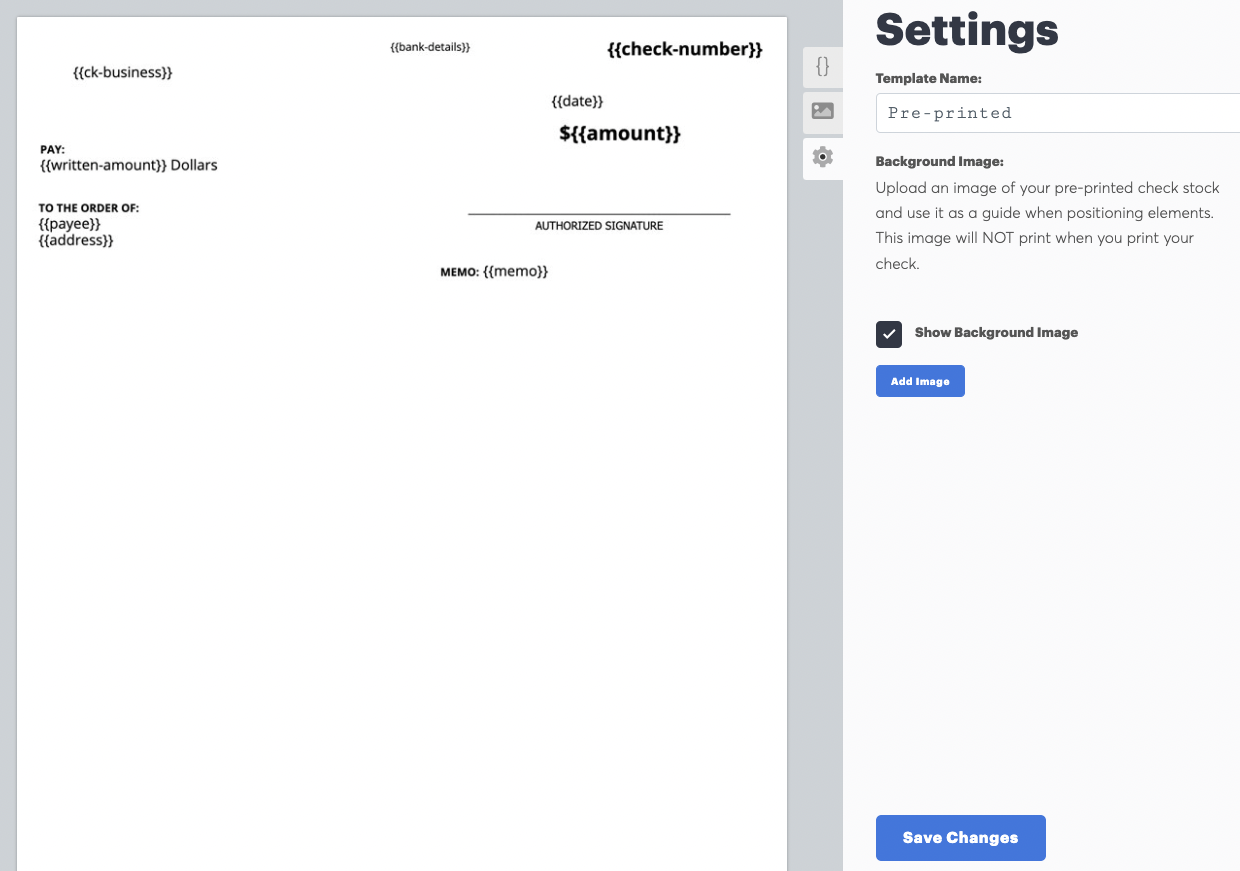
- We recommend using the “Pre-printed” layout. For easy positioning, upload a scan of your check-stock. This will serve as a guide for you when editing your layout. To do this, click on the “Edit Layout” button on the preprinted layout. Click on the settings pinwheel that is on the right side of the editor, check the “Show Background Image” box, and click on “Add Image”. Your check stock scan will not be printed, it is there only to help position your {{elements}}.
Aaaaand, that's a wrap! To learn more about all the ways you can customize your layout, click here.