New Feature: Attach Documents to Your Checks With Ease
You can easily build and customize an invoice table onto each check you write with Checkeeper, but sometimes you may wish to attach documentation to a check as well. If you ever find yourself needing to attach a file or image directly to a check, you can do so easily, either while you’re writing a new check, or by editing an existing check. Keep reading to learn how to do it like the pros!
Option 1: Drag & Drop
So, let's start off by logging into your Checkeeper account & go to your "Check Registry". This should be the first page when you log into your account, but you can always find it in the navigation tabs to the left of your screen.
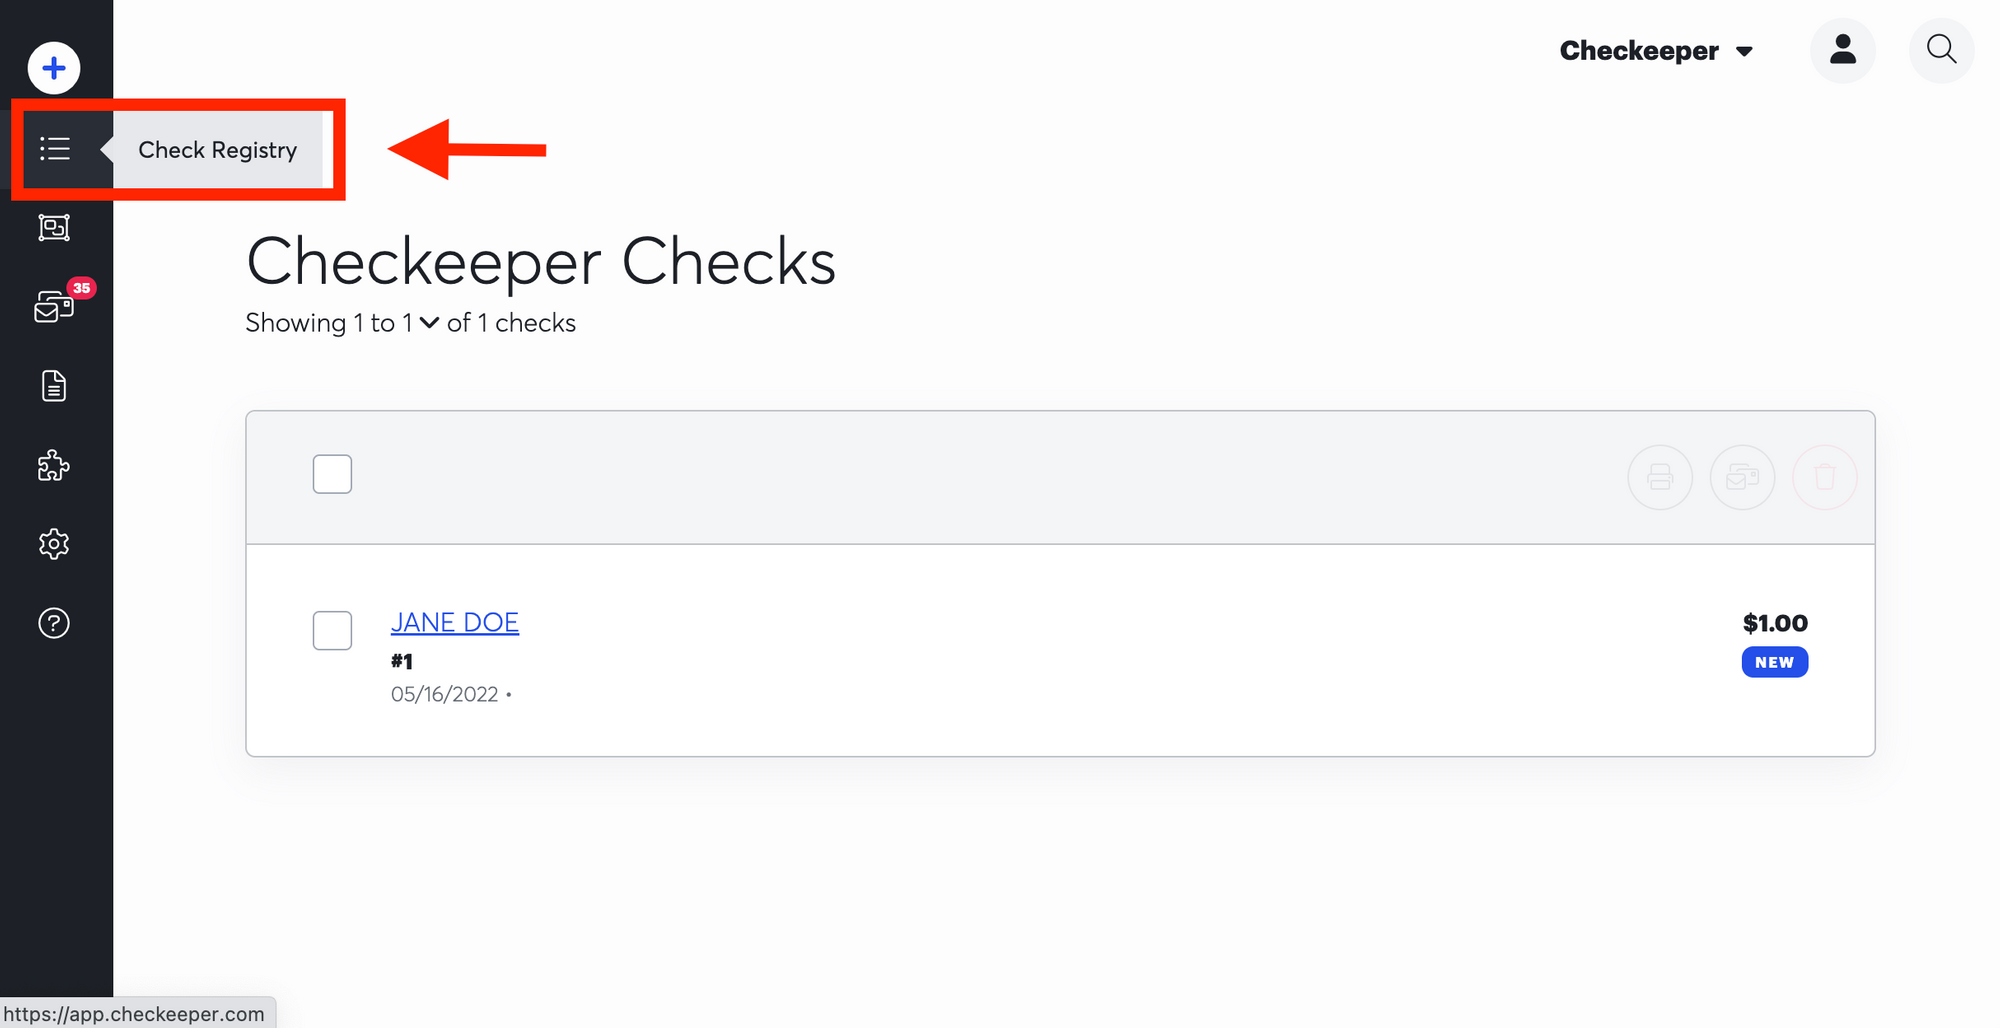
Now that you see a list of all your checks, the easiest & quickest way to attach a document is to use the drag & drop method. Keep in mind that you can only attach one file to each check, so if you have more than one file you will need to compress them. So let's start by locating where your file is on your computer that you would like to attach. Then click, drag, and drop right on top of the check you wish for it to be attached to.
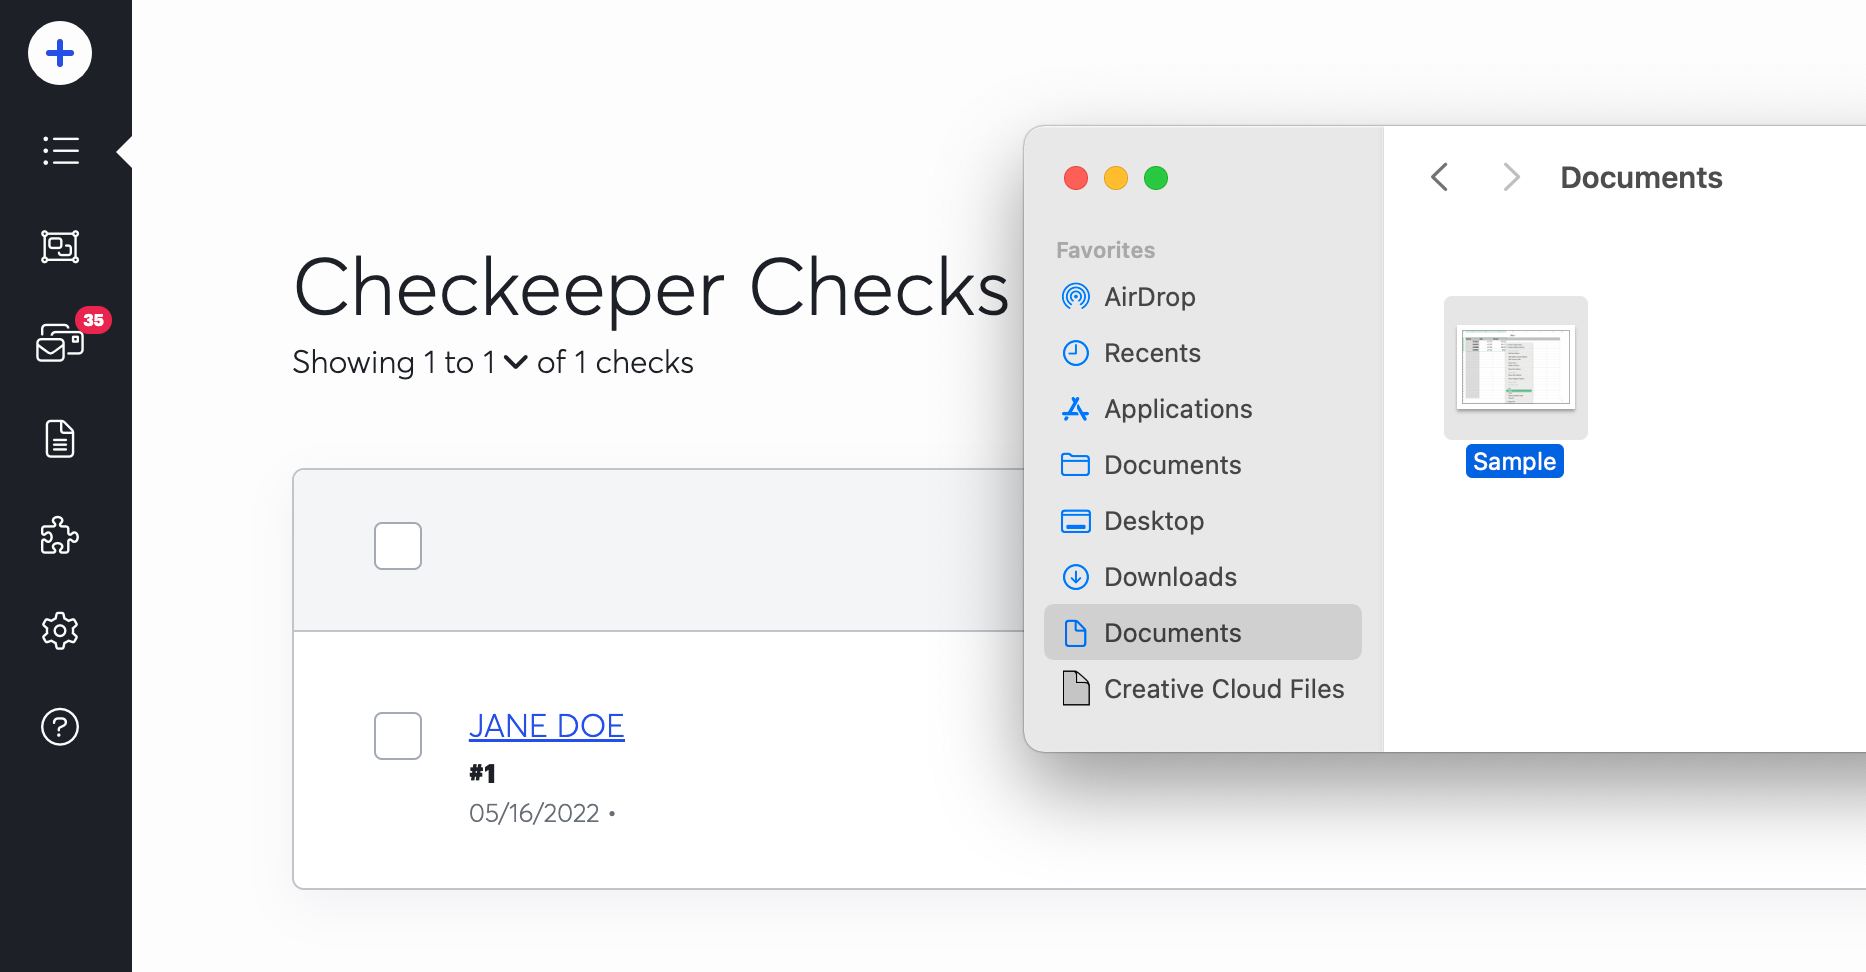
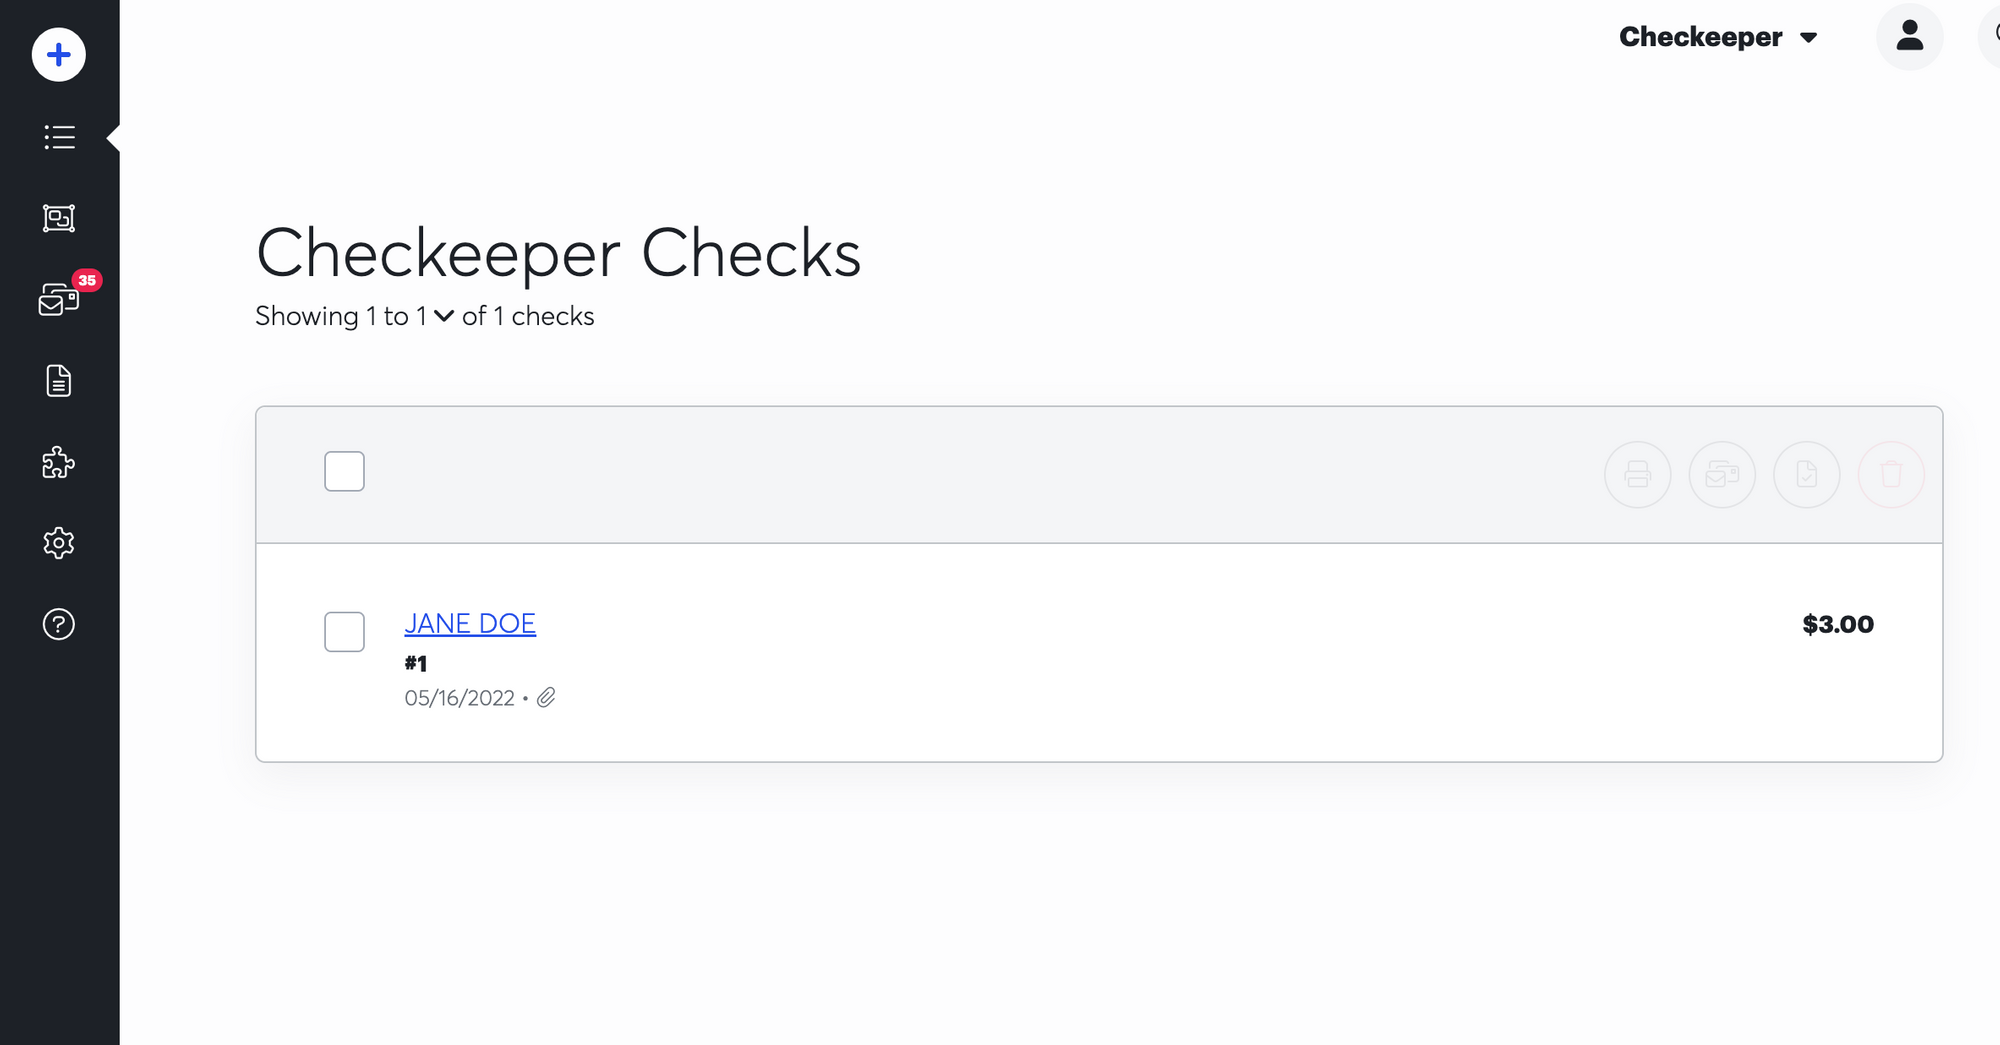
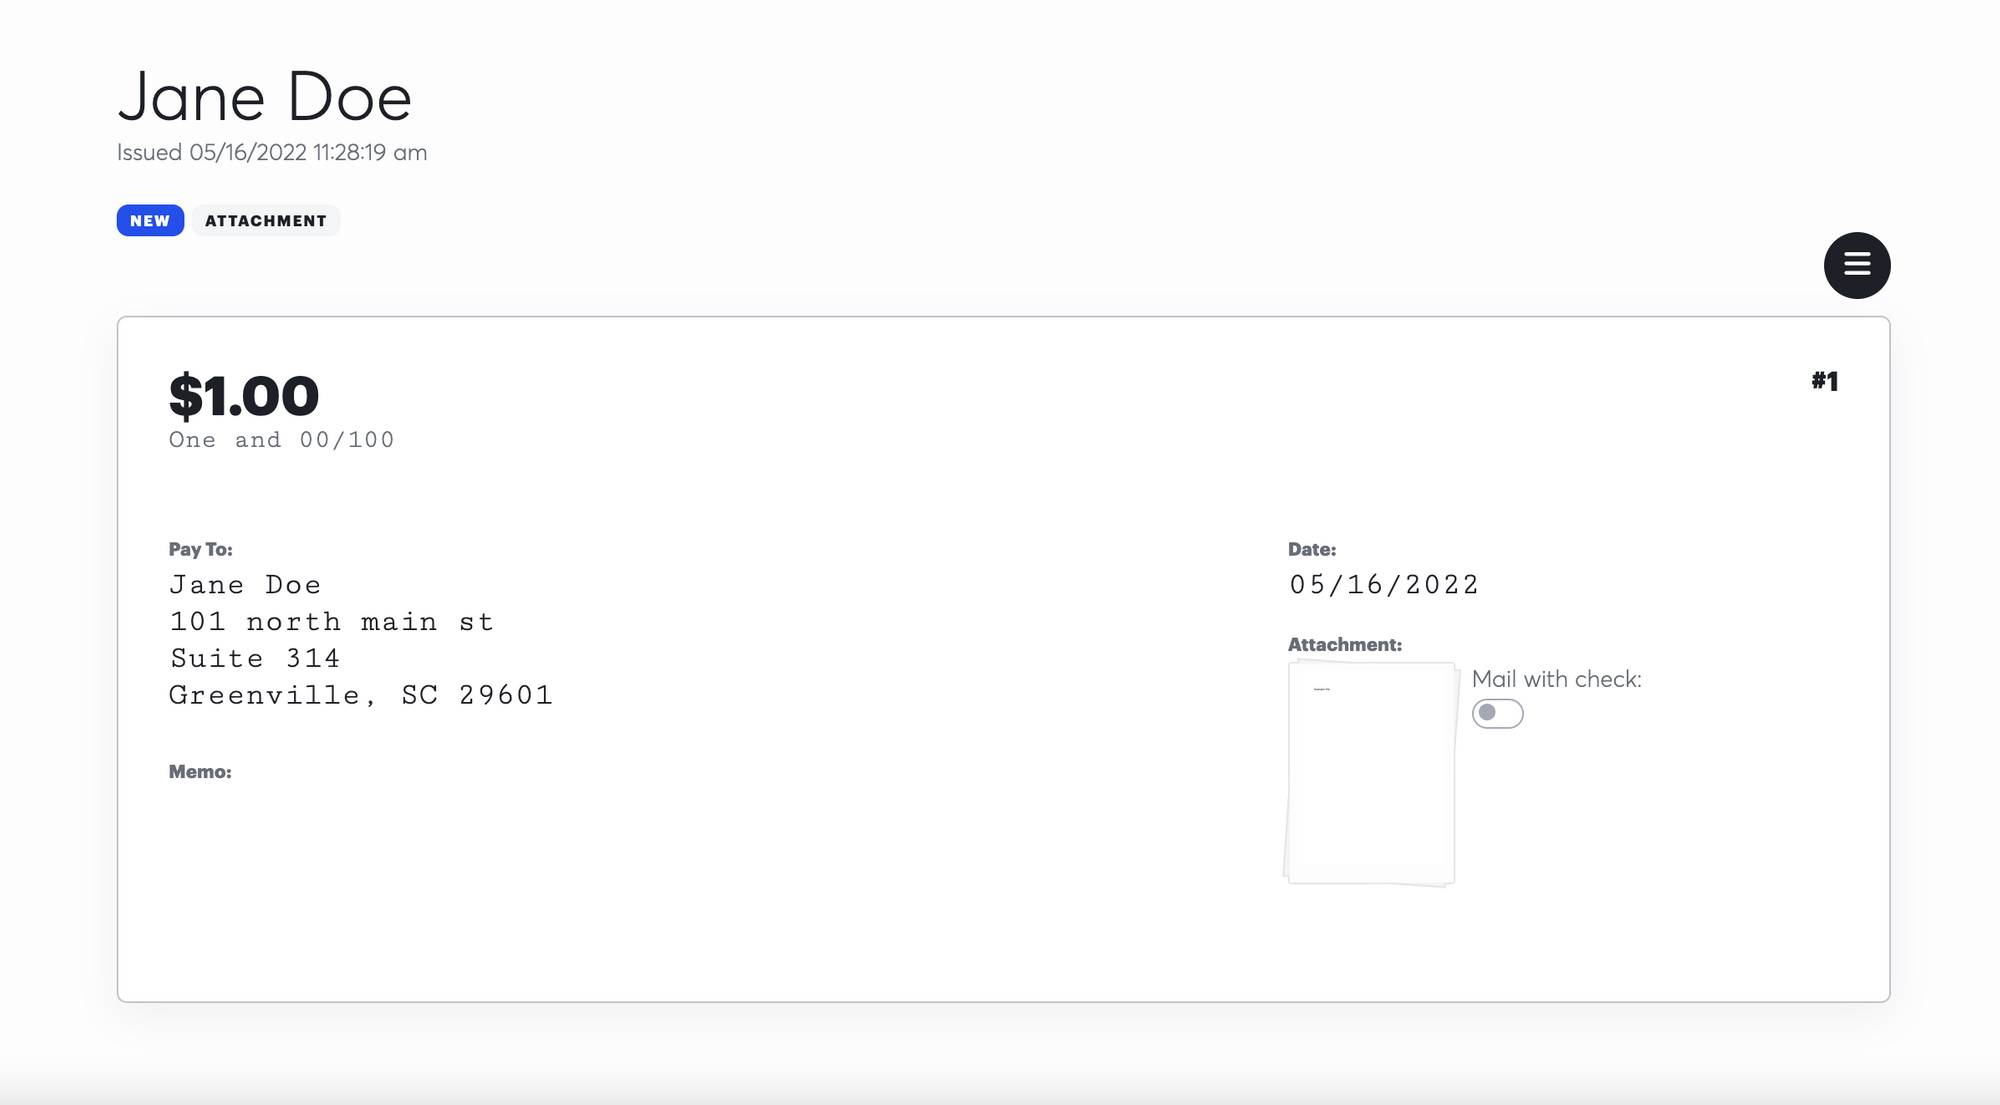
Once you have dropped your file onto your check, you will see a paperclip symbolizing you have an attachment there.

Option 2: Attach While Editing
Now you have learned the quickest way to attach a document, but I will show you another method as well. You can also attach a file when you are editing a check. To start, go back into your "Check Registry".
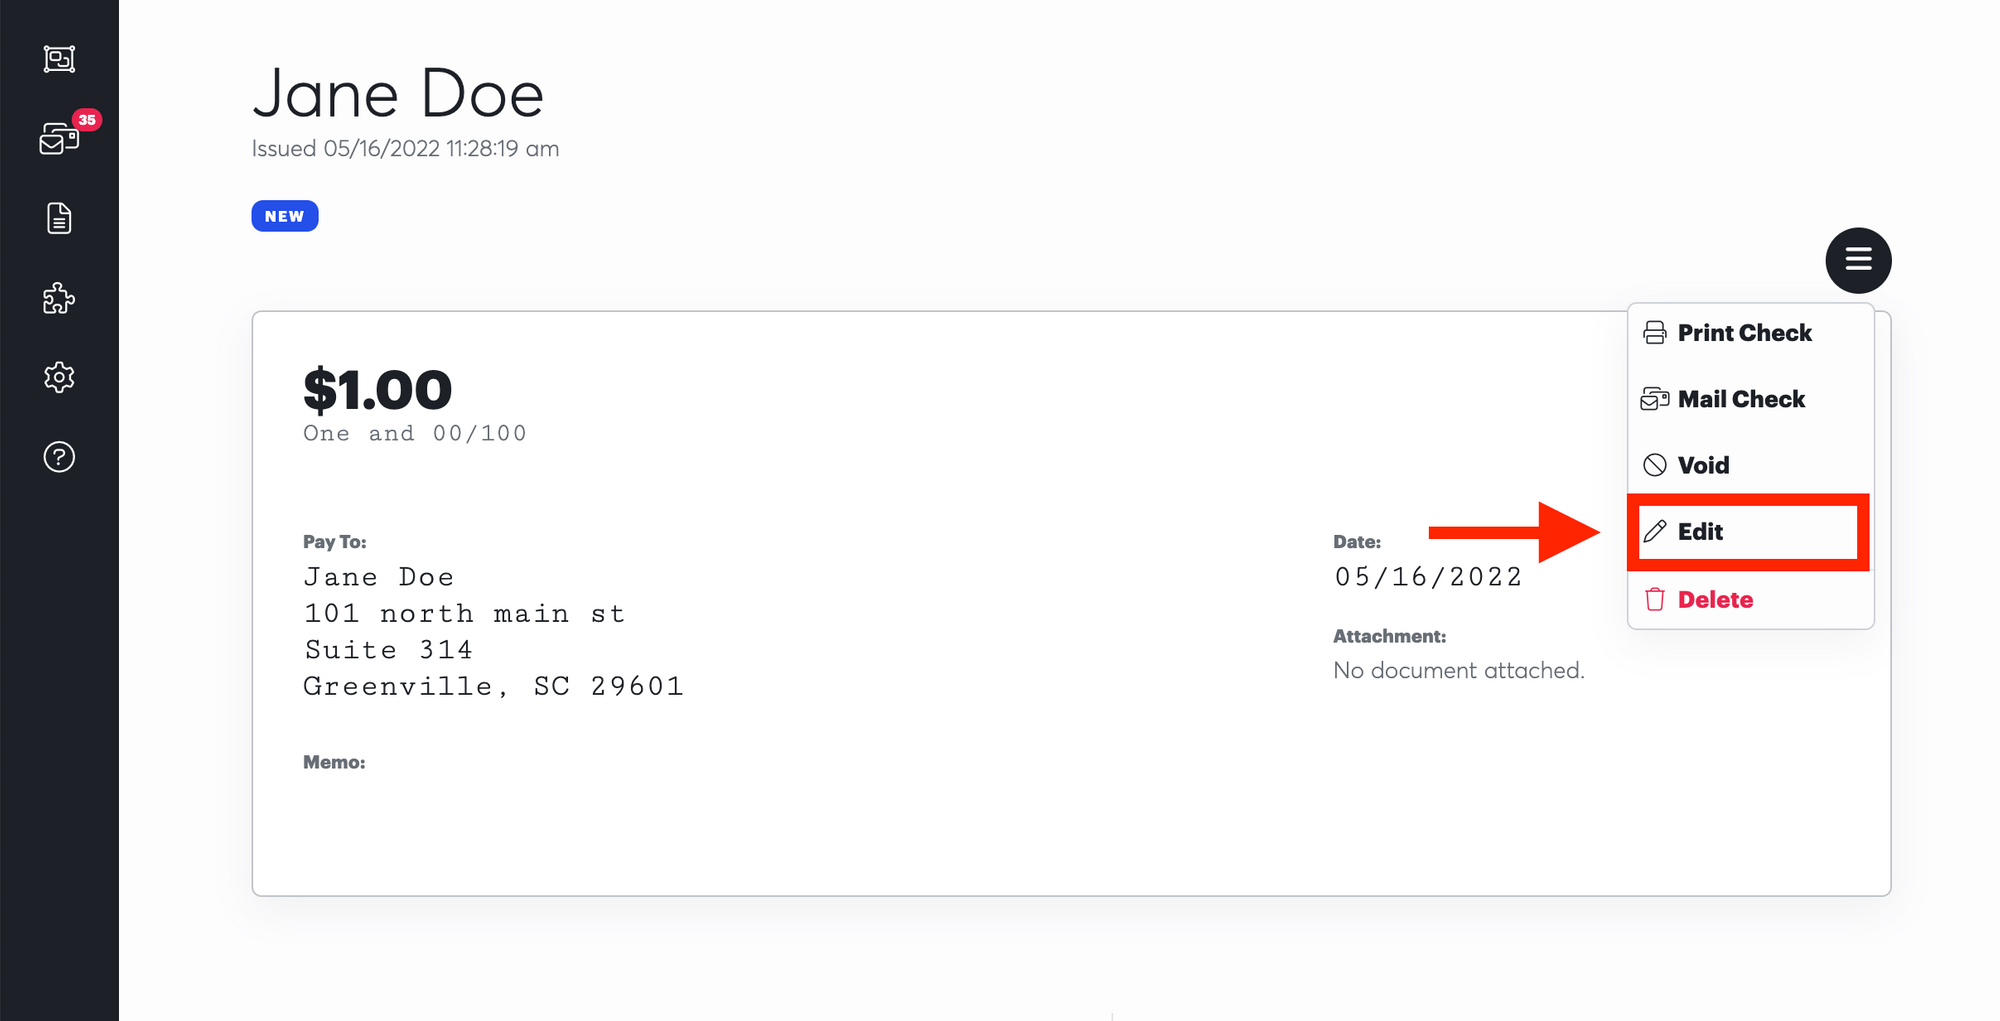
Here you are able to see all of your checks in the system. If you'd like to add an attachment to an already existing check, click on the check you would like to work with. From there, click on the symbol to the left of your check with 3 white lines, this is how you will edit your check. Click "edit".
You are now able to edit any existing information on the check, but most importantly you can add attachments to it! Scroll down to where you see "To attach a document, drop it here or browse" & click "browse".
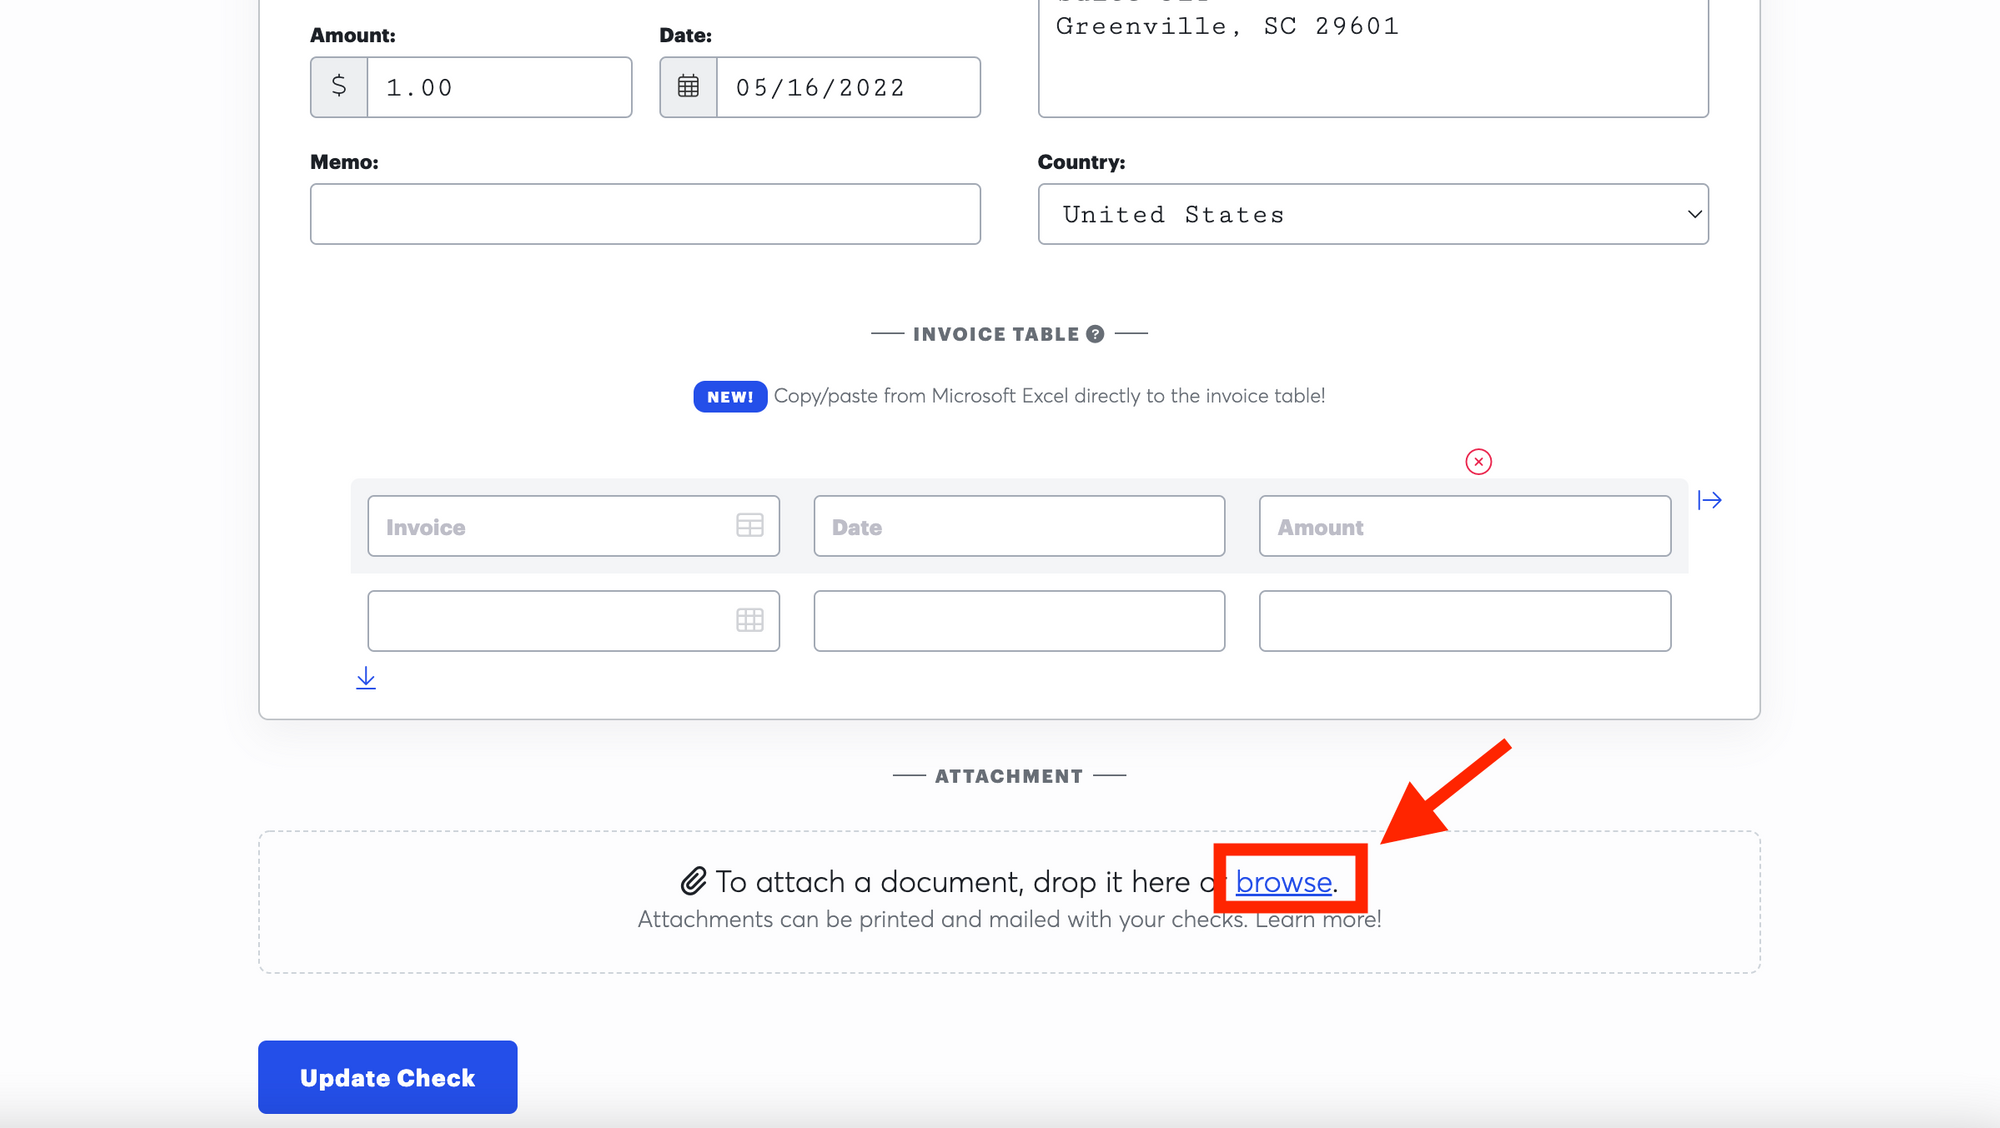
Simply select the attachment you would like to add to your check, keep in mind only images or PDF's can be uploaded so you may need to convert your file first. It will then appear at the bottom of the page under your check.
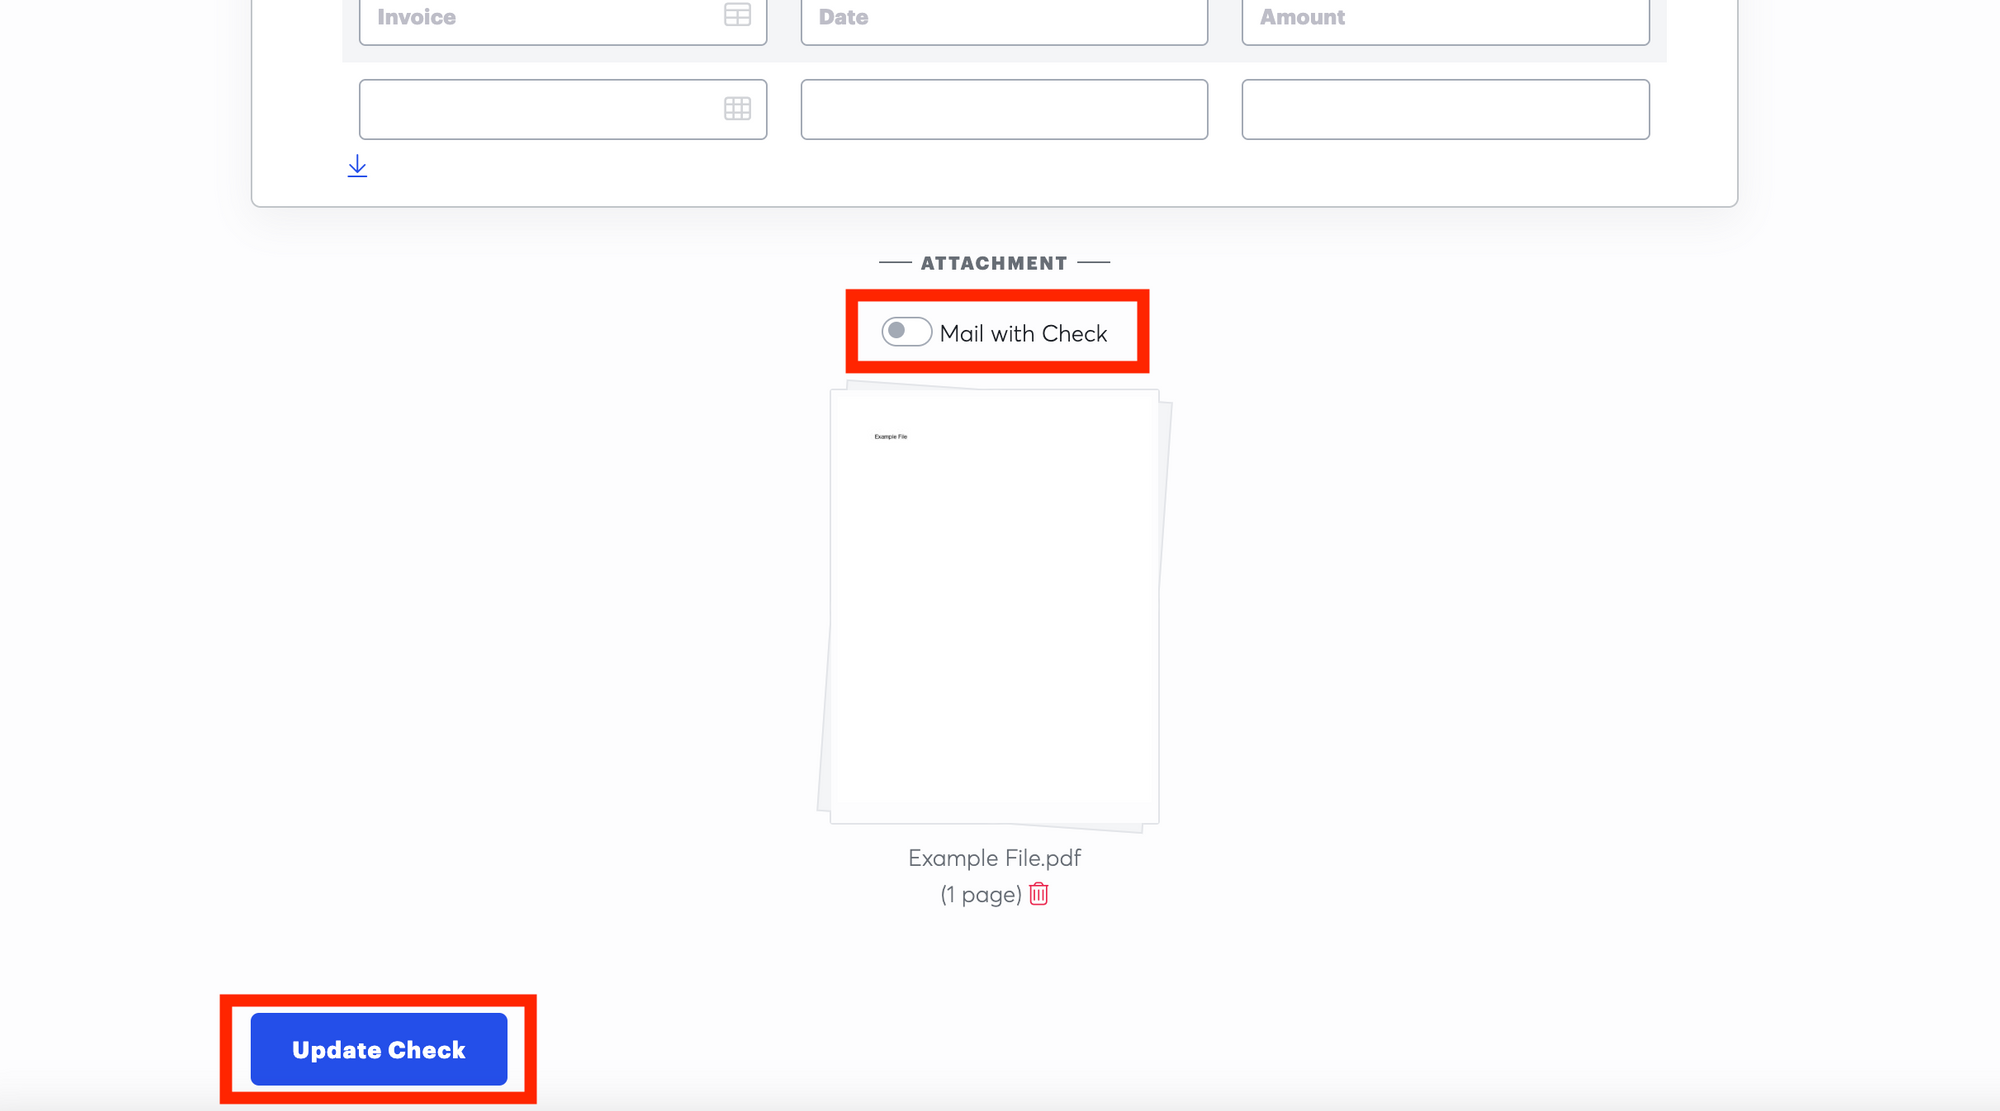
You will see the option to have the attachment mailed along with your check, if you'd like to do that make sure to switch the lever over to "on", it will then appear blue to signal it will be mailed.
When finished, click "Update Check". You will then see your file attached to your check, congrats!
Attaching a Document to a New Check
If you would like to add an attachment to a new check go to the "plus" symbol on the left side navigation bar & click "Create a new check".

From there, create your check & add your attachment by following the same instructions above.
If you plan on attaching & mailing documents often with your checks, we have a trick to make it pretty easy. Once logged into your account, go into your account settings.
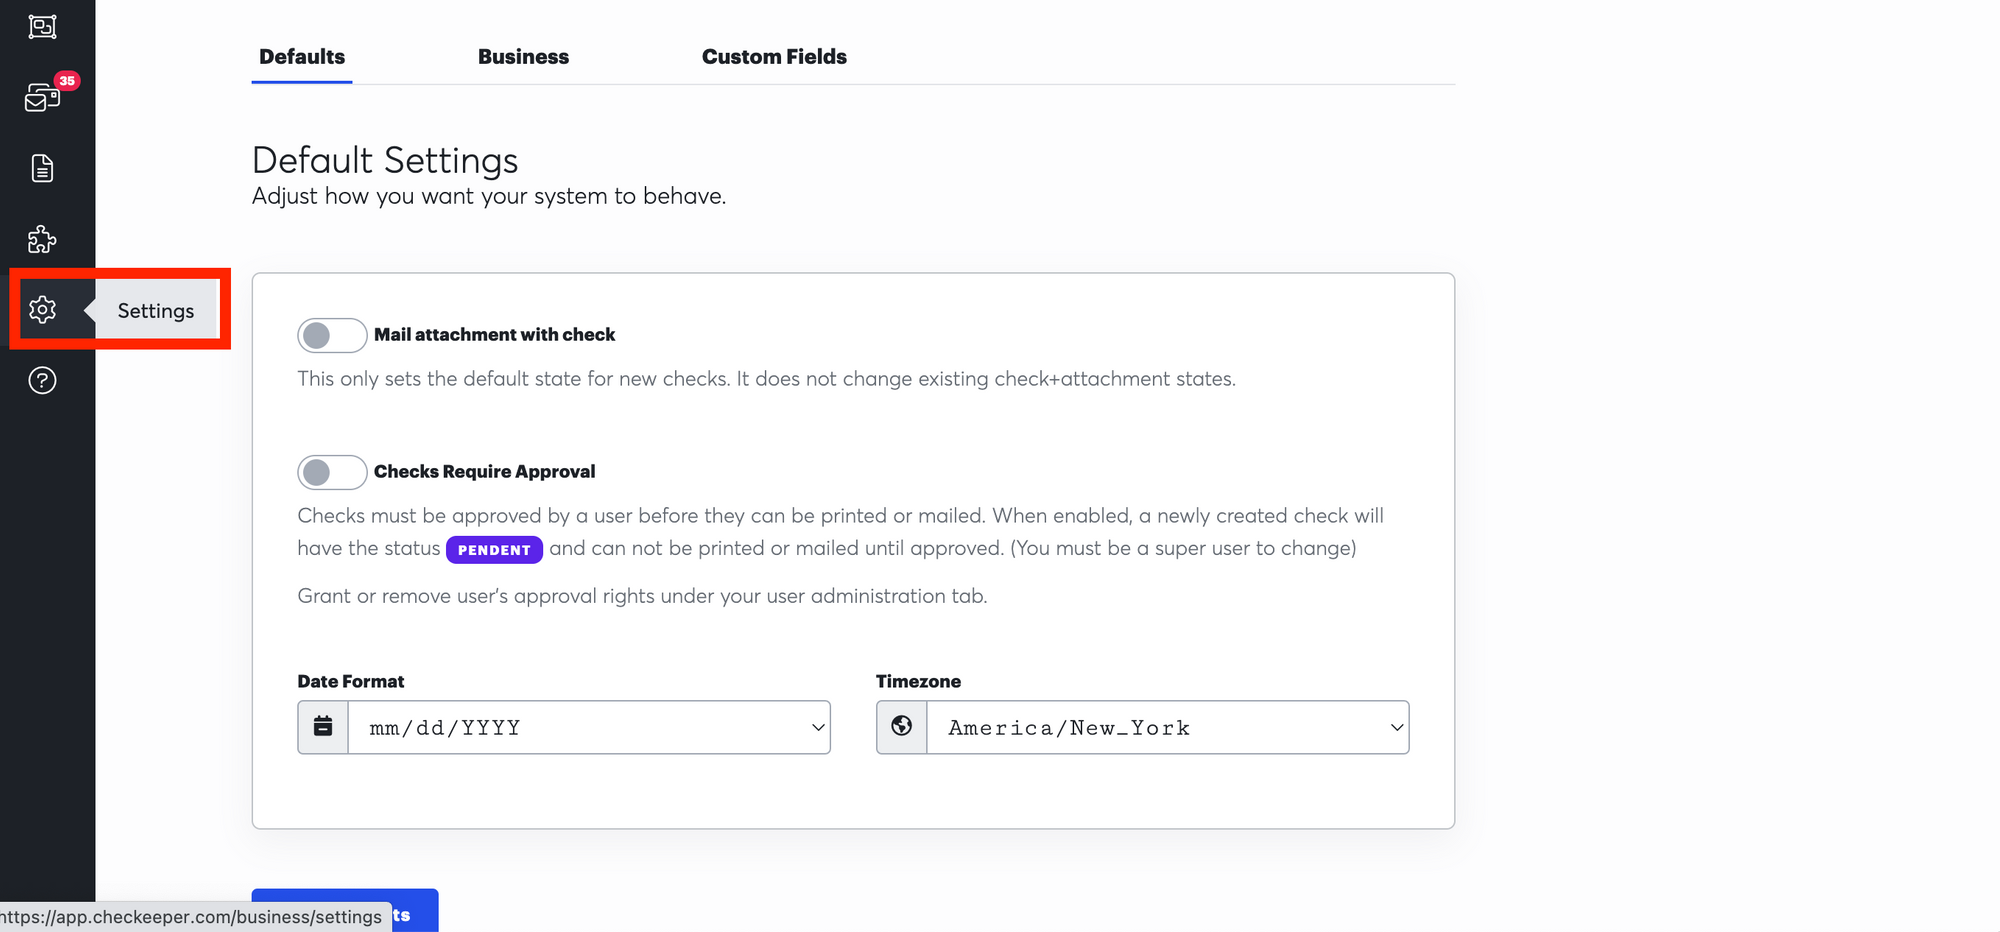
You'll see an option to turn on "Mail attachment with check".
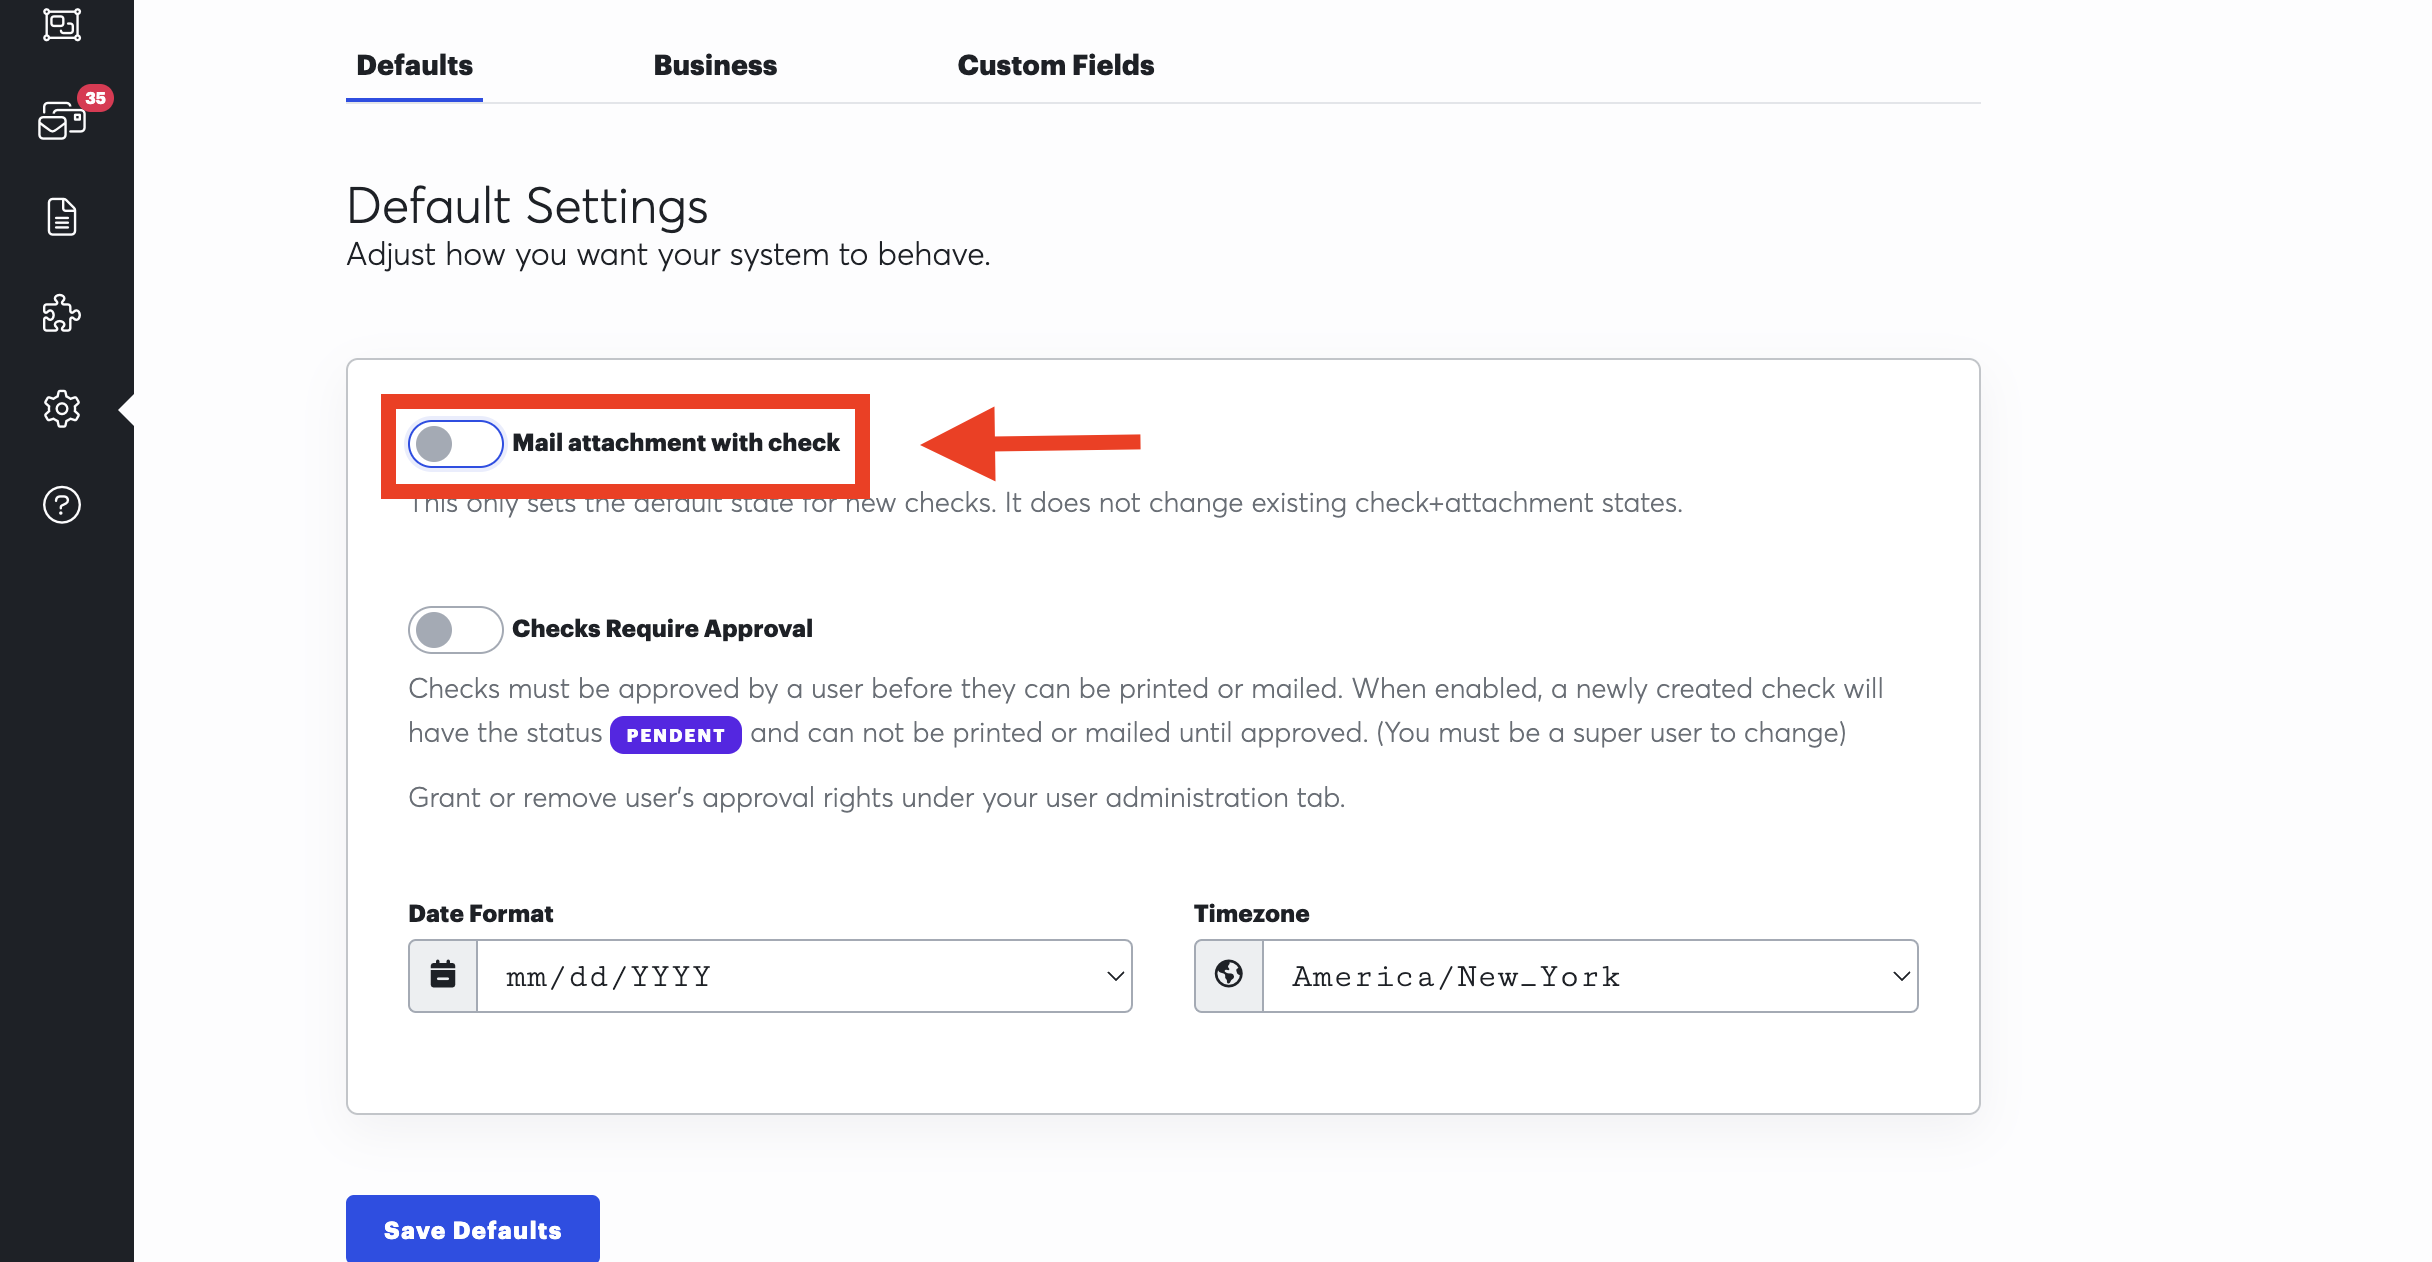
Turn the switch to on & you will see it turn blue, this means for all new checks created with attachments, the attachments will be preset to mail along with them. All previous created checks will not be changed. Just make sure to click "Save Defaults" to save your changes.
I hope this article has helped you to successfully add your first attachment to your Checkeeper check! If you have any questions please reach out to our support team at [email protected] during normal business hours & we will be happy to assist.