Checkeeper Layout Guide: How to Create a Layout for Check Printing
Customizing your check layout is simple — and surprisingly flexible.
Whether you're printing on plain paper or check stock, this guide will help you set up a layout that suits your needs.
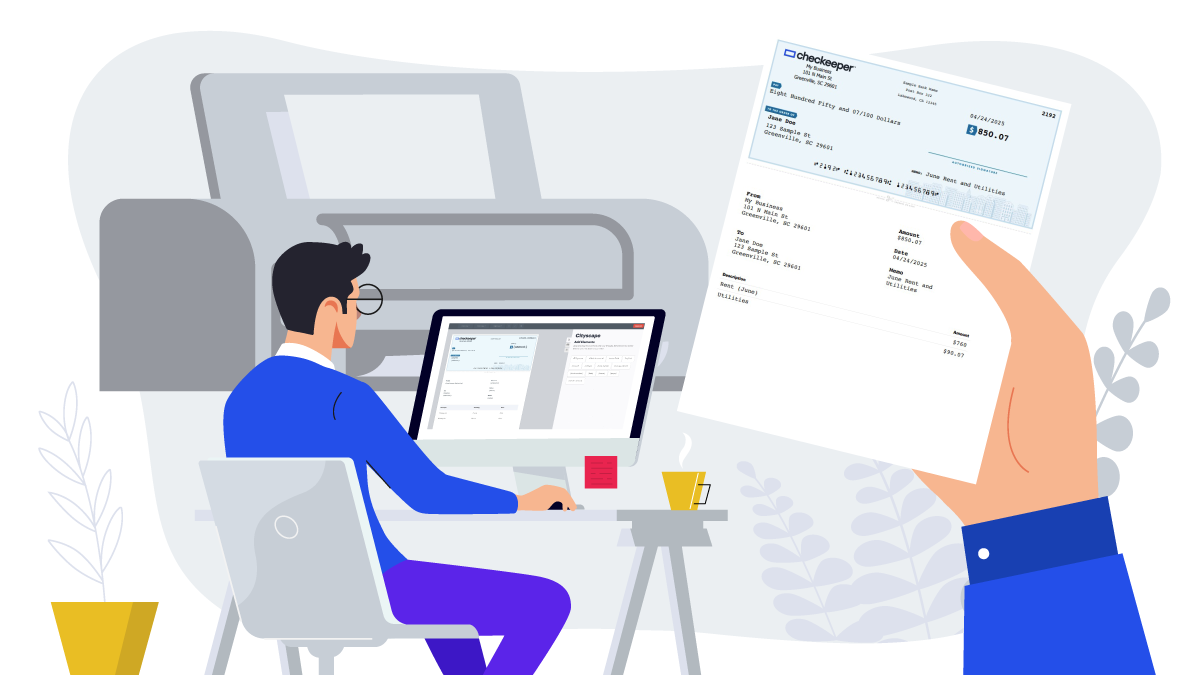
The check layout is a customizable template that tells Checkeeper exactly where to print details like the payee, date, amount, and memo. You can personalize it by adding a logo, editing fonts, inserting images, or including a signature. The layout uses special placeholders—called elements—written in curly brackets, like {payee} or {amount}. When you print a check from the check registry page, Checkeeper automatically fills in those elements with your actual check data.
🧾 Step 1: Select a Layout
Go to the Layouts page and click the blue "Create New Layout" button. Then, choose the layout that fits your needs best!
Not sure which one to pick? Here’s a quick guide to help you decide:
- Cityscape: Ideal for printing on blank printer paper.
- Simple: Great to use on blank printer paper and blank check stock paper.
- Blank: Build your own layout from scratch using this layout.
- Gusto: Designed for use with our Gusto add-on to import and print checks.
- Check on Bottom: Use this one if you want your check printed on the bottom of your page.
- Pre-printed: Recommended when printing onto pre-printed check stock paper. (see step 4 to upload a background image for alignment)
🛠️ Step 2: Move, Add, Remove, and Edit Elements
Elements are placeholders that tell Checkeeper where to print your check data. You can move, add, remove, and edit them to customize how your check data appears on your checks.
📝 Note: You don’t type the check data directly onto the layout - Checkeeper will automatically replace these elements — like {payee} and {amount} — with your actual check data when you print the check.
- Move elements by hovering over the element to reveal its surrounding box, then click and drag it anywhere on the page.
- Add elements by clicking and dragging the element onto the layout from the sidebar.
- Remove elements by clicking 🆇 when hovering over the element.
- Edit elements by using your mouse to highlight the element and using the drop-down menus at the top of the screen (font size, font type, etc.).
💡 Tip: Be sure to add the "Bank Account" element to include your MICR line (the line with your bank account and routing number).
If you just want to print a simple check (without all of the bells and whistles) — feel free to stop here and click the Save & Exit button to save your layout!
🖼️ Step 3: Adding Images to your Layout
You can add images, like your business logo, check backgrounds, or even a scan of your handwritten signature. Here’s how:
- Click the Images tab (the middle tab on your layout toolbar).
- Click Choose File and Upload your image.
- Drag and drop the image onto your layout and resize as needed.
📝 Note: you can resize images to make them smaller, but you can’t scale them larger. For best results, upload high-resolution images at the desired size.
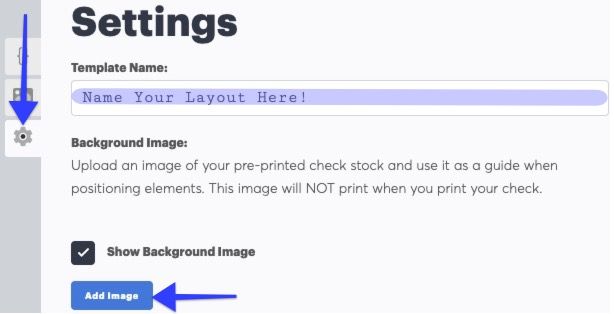
🗂️ Step 4: Name your Layout + Add a Background Image
Naming your layout helps keep things organized, especially if you will be using multiple layouts for different accounts or check styles.
- Select the Settings tab ⚙️ (3rd tab on the layout toolbar)
- Enter a name for your layout
- Click Save Changes at the bottom of the page
Adding a background image is especially helpful when printing onto pre-printed check stock paper. You can upload a full-page scan of your check stock to help align elements accurately.
- Select the Settings tab ⚙️ (3rd tab on the layout toolbar)
- Click Add Image to upload a scan of your check stock
- Check the box labeled Show Background Image ☑️
- Click the Save Changes button at the bottom
✅ That’s all there is to it! Once your layout is set up, click Save & Exit in the top right corner.
To use or change the layout you are using:
- Go to the Layouts page
- Click the ⚙️ icon on the layout you want to use
- Select Make Active.
Test your new layout by creating and printing a check:
- Create a check by clicking the + icon on your toolbar, then select "Create New Check".
- Print the check to see your layout in action.
If you have any questions or just want some help getting set up, please don't hesitate to contact us via [email protected].