How To Create A Check
Hello, friend! We are super excited that you have chosen Checkeeper to fulfill your check making needs! We want you to choose what works best for you and/or your business. That’s why we offer the ability to import checks using a CSV file, through our user-friendly API, or by starting from scratch. In this article, I will walk you through the process of creating a ready-to-print (or mail) check. It’s as easy as 1, 2, 3!
(1) Create your check + (2) Customize your layout = (3) Ready to print check
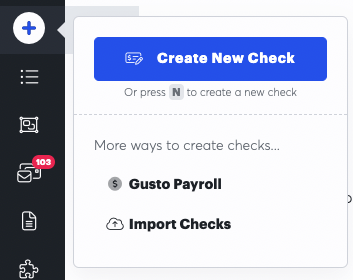
Repeat after me: “I will create my check before I touch my layout.” Once you log into your account, click the blue plus sign on the left sidebar, followed by "Create Check". In the check form you will input:
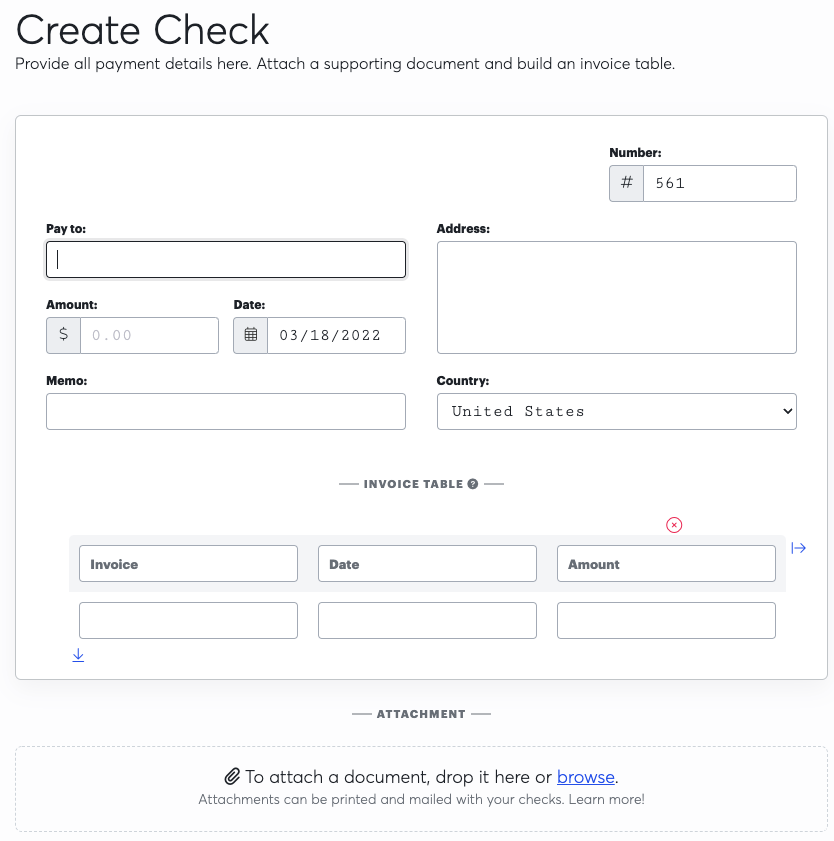
- Check number, date, check amount, payee name, payee address and country (the payee address is only required for checks that are submitted to be mailed).
- Do not use any commas in the “Amount” field.
- The system will denote your first check as check #1. This field can be edited if you want to start with a different check number.
- You can set a default country for your business under settings.
Optional information:
- Memo
- Attachments
- Custom Fields and so much more!
The following only pertains to checks submitted to our mailing service:
- It is important to make sure you are selecting the right checks for mailing, because this action cannot be reversed.
- You can add attachments when you create a check! This can be anything from receipts, invoices, pay stubs, or a picture of your dog. The file must be in an image or a PDF format in order to upload.
Edit / Void / Delete
To edit or void a check, navigate to your check registry. Click on the payee to view the check, then click the black circle with three lines to see a drop down menu with options. Make sure to save any changes before exiting the edit screen.
Checkeeper does not connect with your bank; the void action is for your own record keeping purposes within Checkeeper. You will need to contact your bank to prevent any further actions
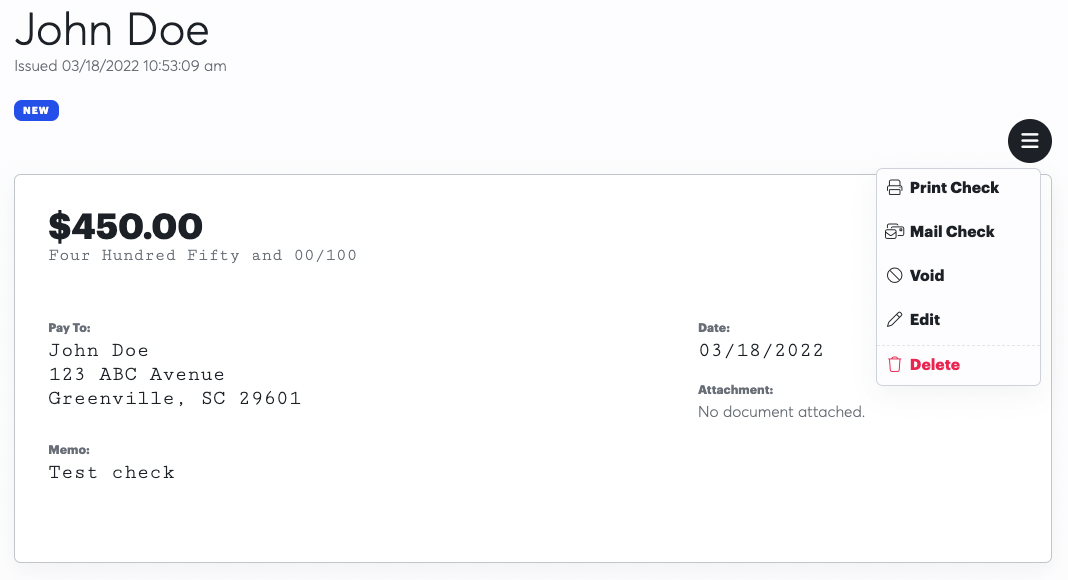
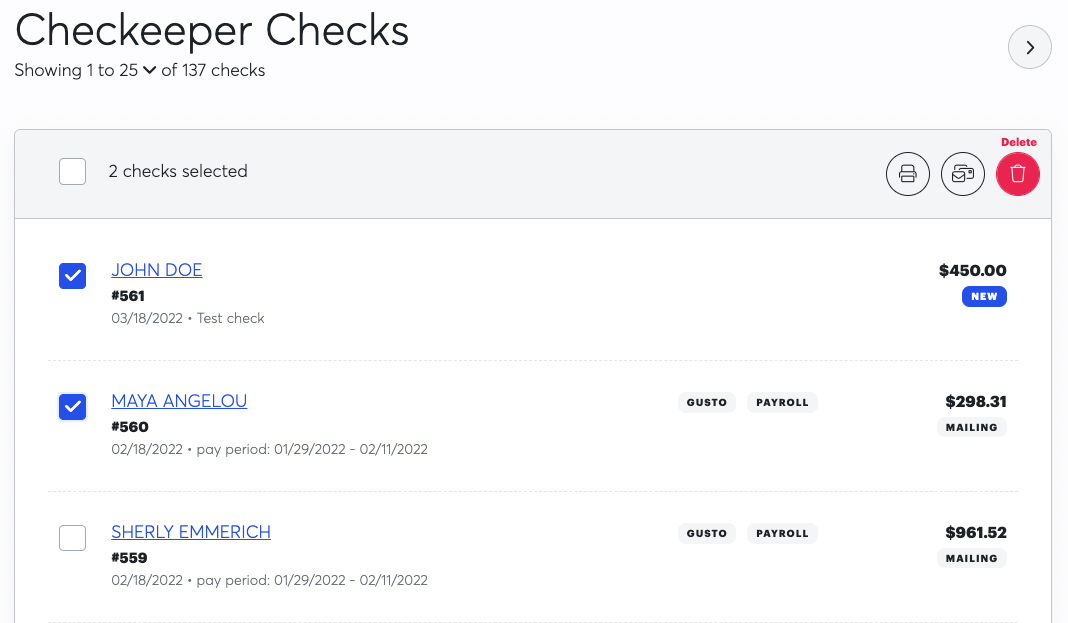
To delete checks from the registry, it can be done in bulk or one at a time. This action cannot be undone, so make sure you really, really want to make it disappear forever!