Building Your CSV File for Multi-Check Uploads

You know Checkeeper's online software makes printing and mailing checks easier than ever– but what you may not have known is that it can be even easier with the bulk check importer. All you need is a CSV file containing basic payment information for each check, and you'll be able to upload them all in seconds. In this tutorial, we'll talk about what a CSV file is, how to build one, and what information you'll need to include in your file for a bulk check upload.
Remind me... what's a CSV?
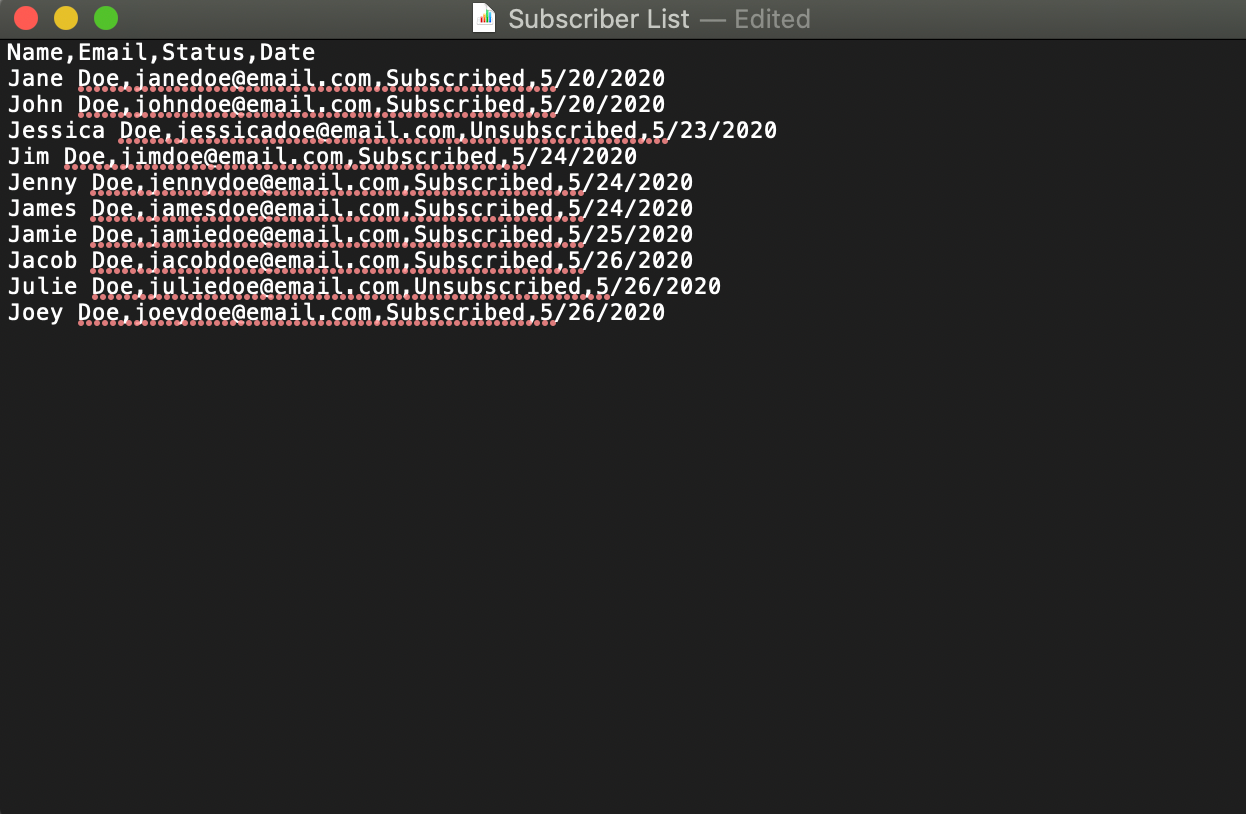
A comma-separated values file is a plain-text file that stores data values delimited by commas. It basically takes all the information from a spreadsheet and breaks it down into plain text separated by commas rather than cells.

Cool... why do they exist?
The simplistic format of CSV files makes them easy to share and view as they are compatible with a variety of programs like Excel, Sheets, and Numbers and widely accepted by online platforms like Checkeeper.
How to Build Your CSV File for Checkeeper's Uploader Tool
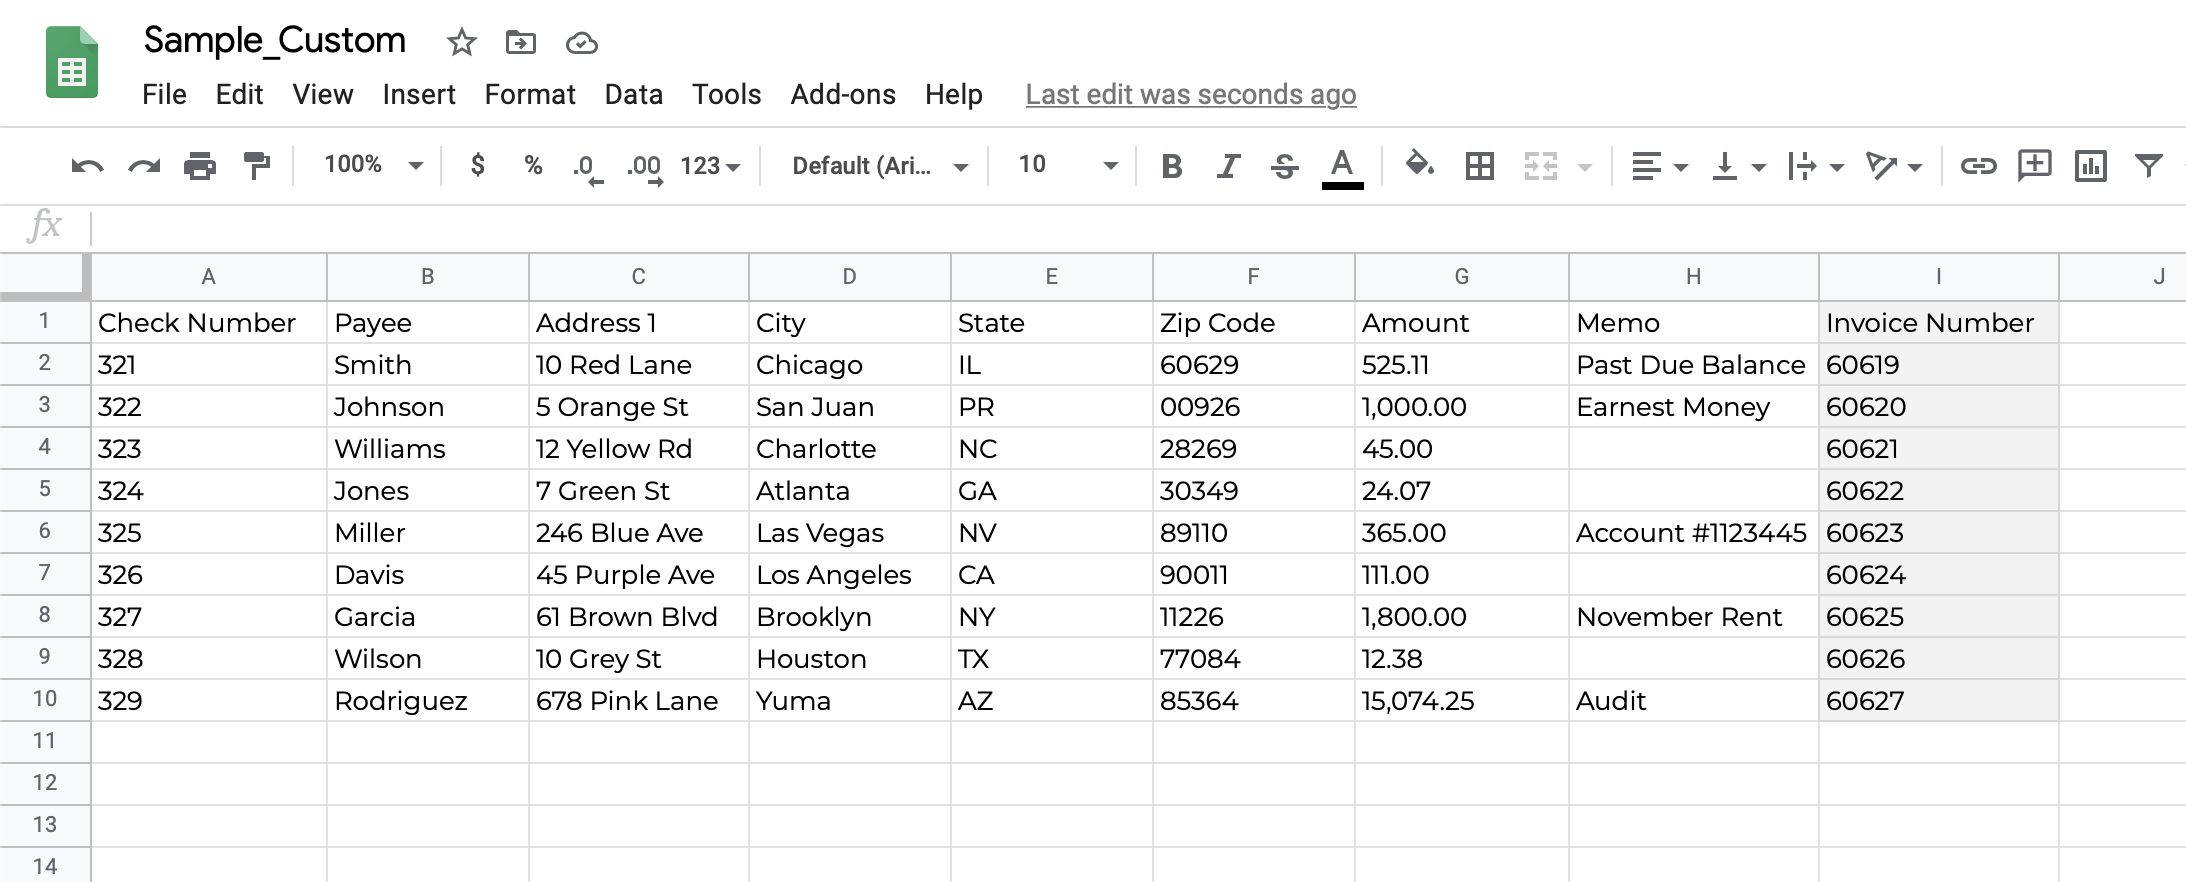
Begin by creating a file in your preferred spreadsheet program. You'll need to create a header that includes each of the following fields: Check Number, Payee, Address, City, State, Zip Code, Amount, and Memo. Then, under each appropriate header, enter the data for all your checks. You don't need a field for the check date as the uploader will automatically assign the current date. If you're making a future payment or would like to specify a date other than the current one, you'll just create a new field for it.

Creating Custom Fields
If you want your CSV file to include even more data about your checks, such as an invoice number or customer ID, all you need to do is create a custom field for each item. Just as before, start with a header and enter any relevant information directly beneath it (be sure to place your data in the appropriate row). Any cells that don't need to carry a value can simply be left blank– don't bother filling them in with "N/A" or "--".
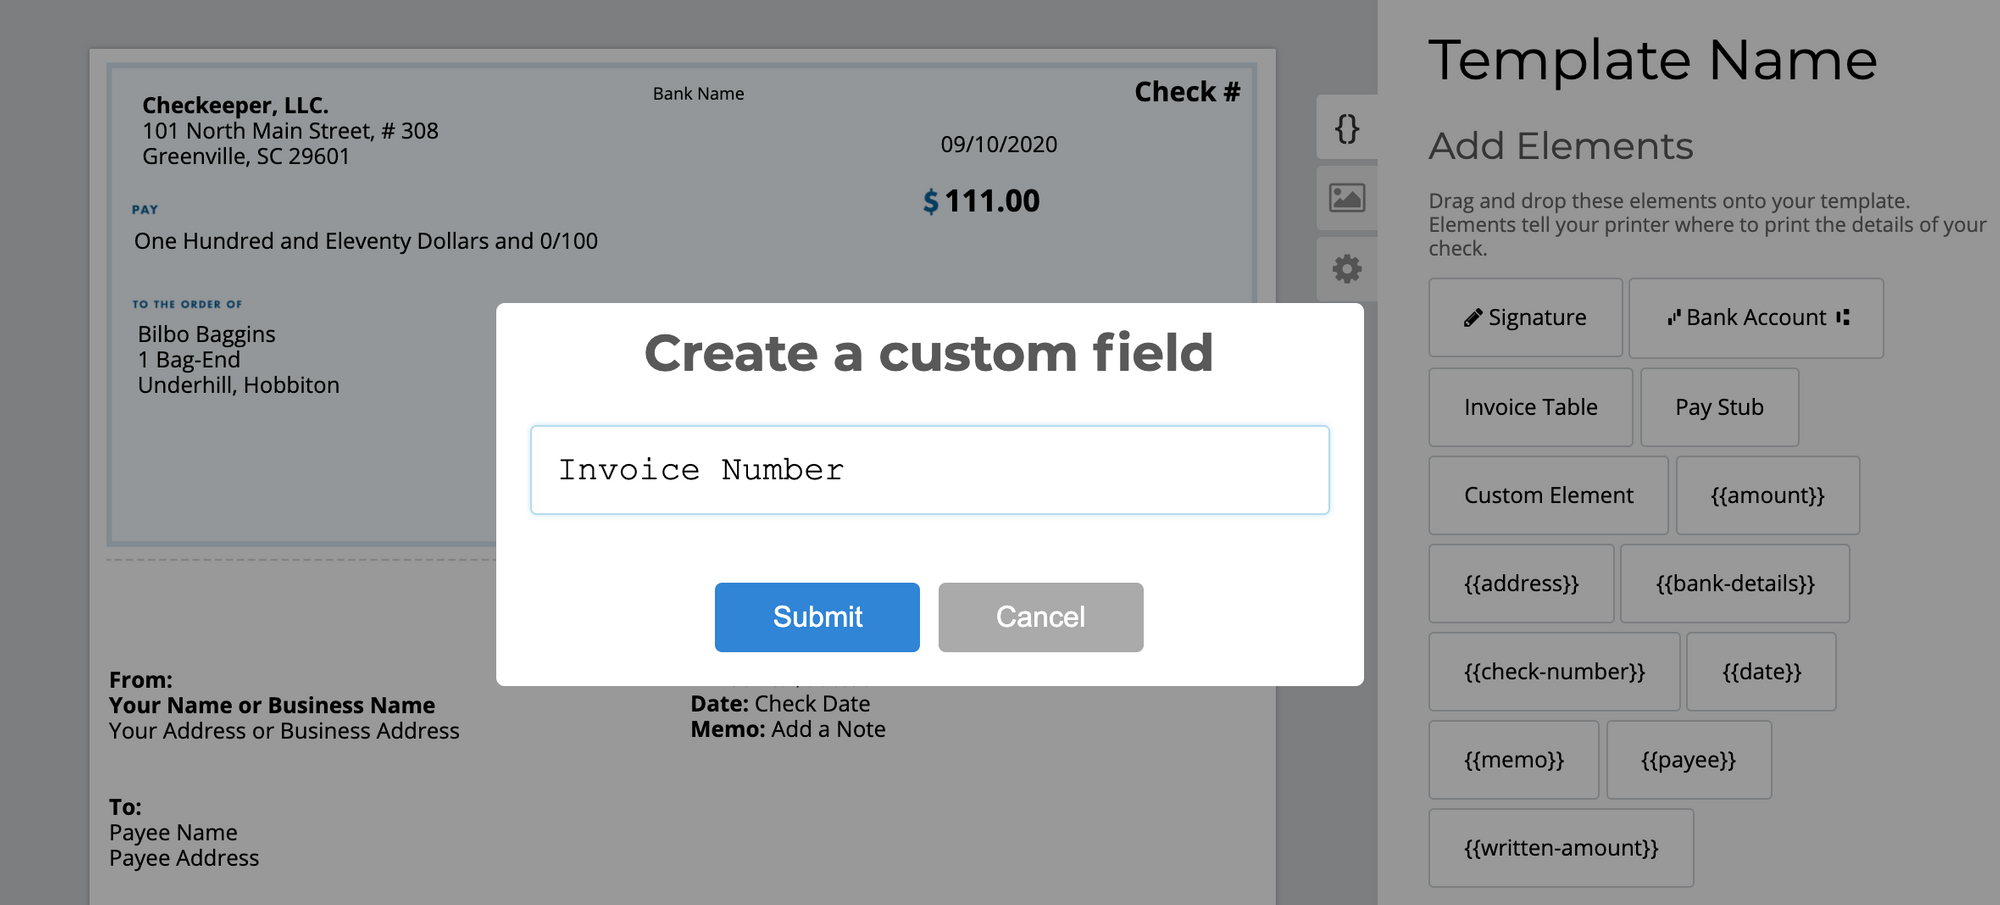
If you do create a custom element in your spreadsheet, you'll also need to create a custom field for your check template and use that template for your upload. Just open the template editor, drag and drop the "Custom Element" onto your check, and give it a name that corresponds to the custom element you've just added to your spreadsheet. Now, when you upload your file, you'll have one more field than everyone else, and all your colleagues will envy you.
Turn that Spreadsheet Into a CSV File
You've got all your check data in the spreadsheet, and now you need it in your Checkeeper registry. All you need to do is download the spreadsheet as a .csv file. In Google Sheets, click File > Download > Comma-separated values. In Excel, File > Save As > Save As Type > CSV.
Upload Ya Checks
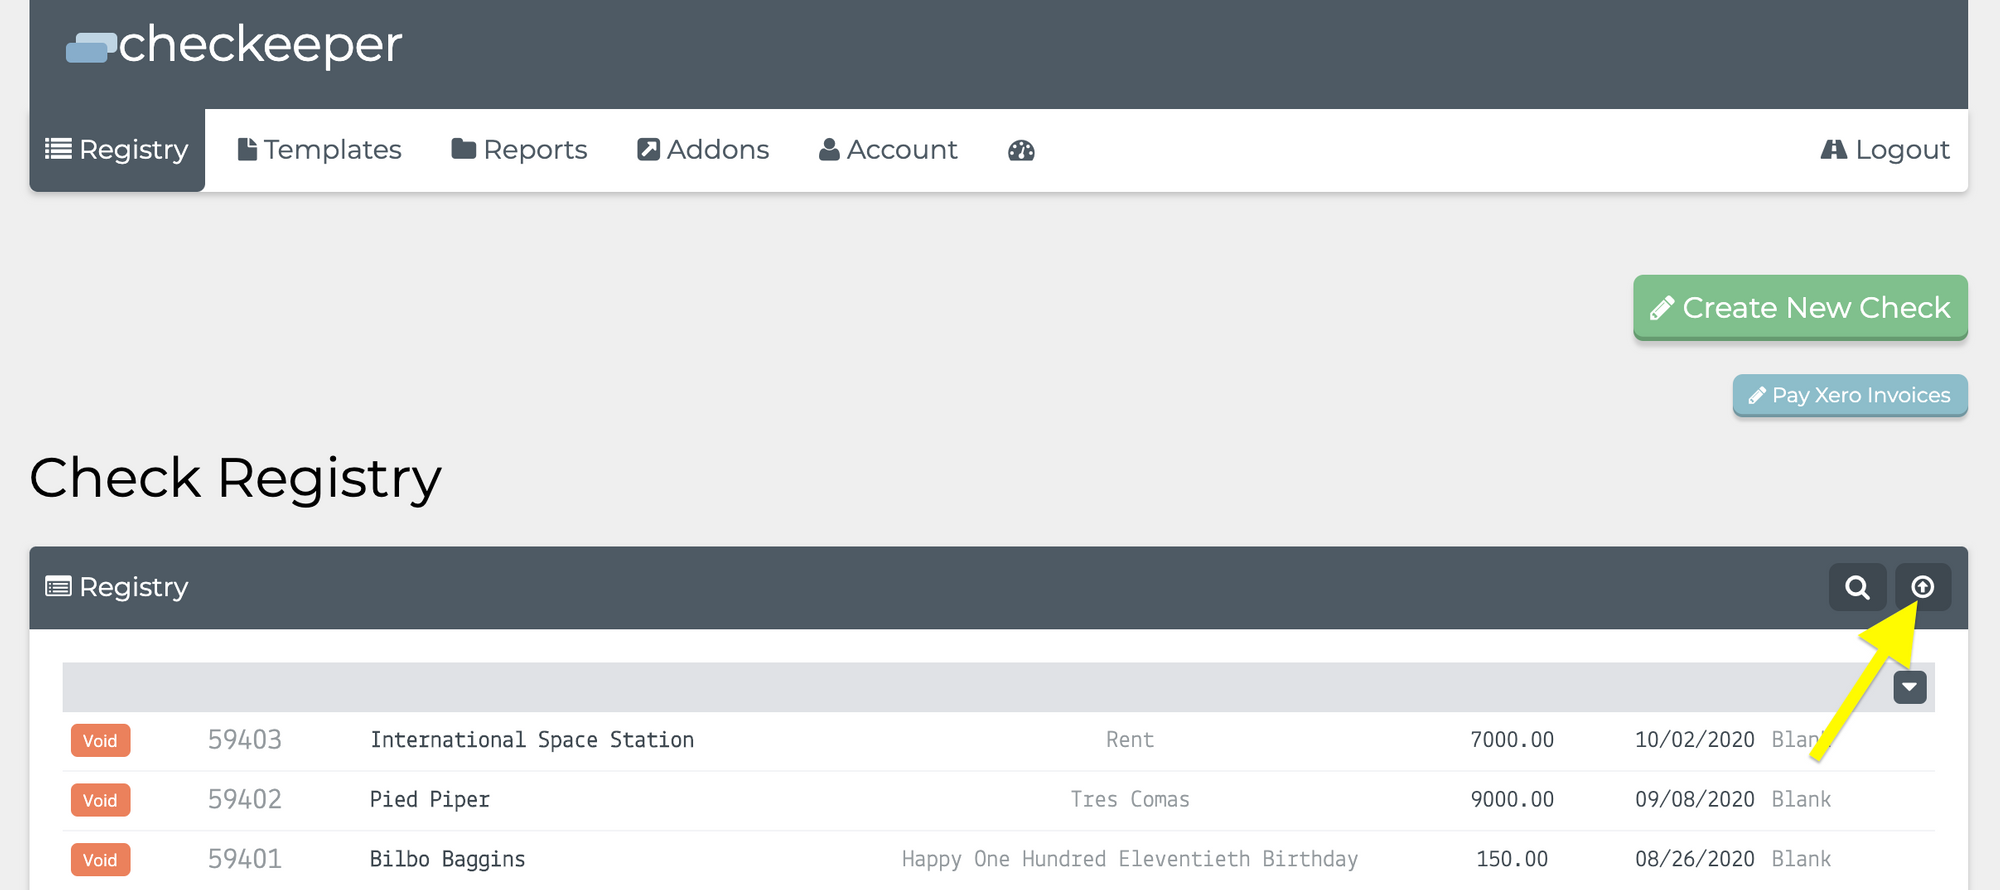
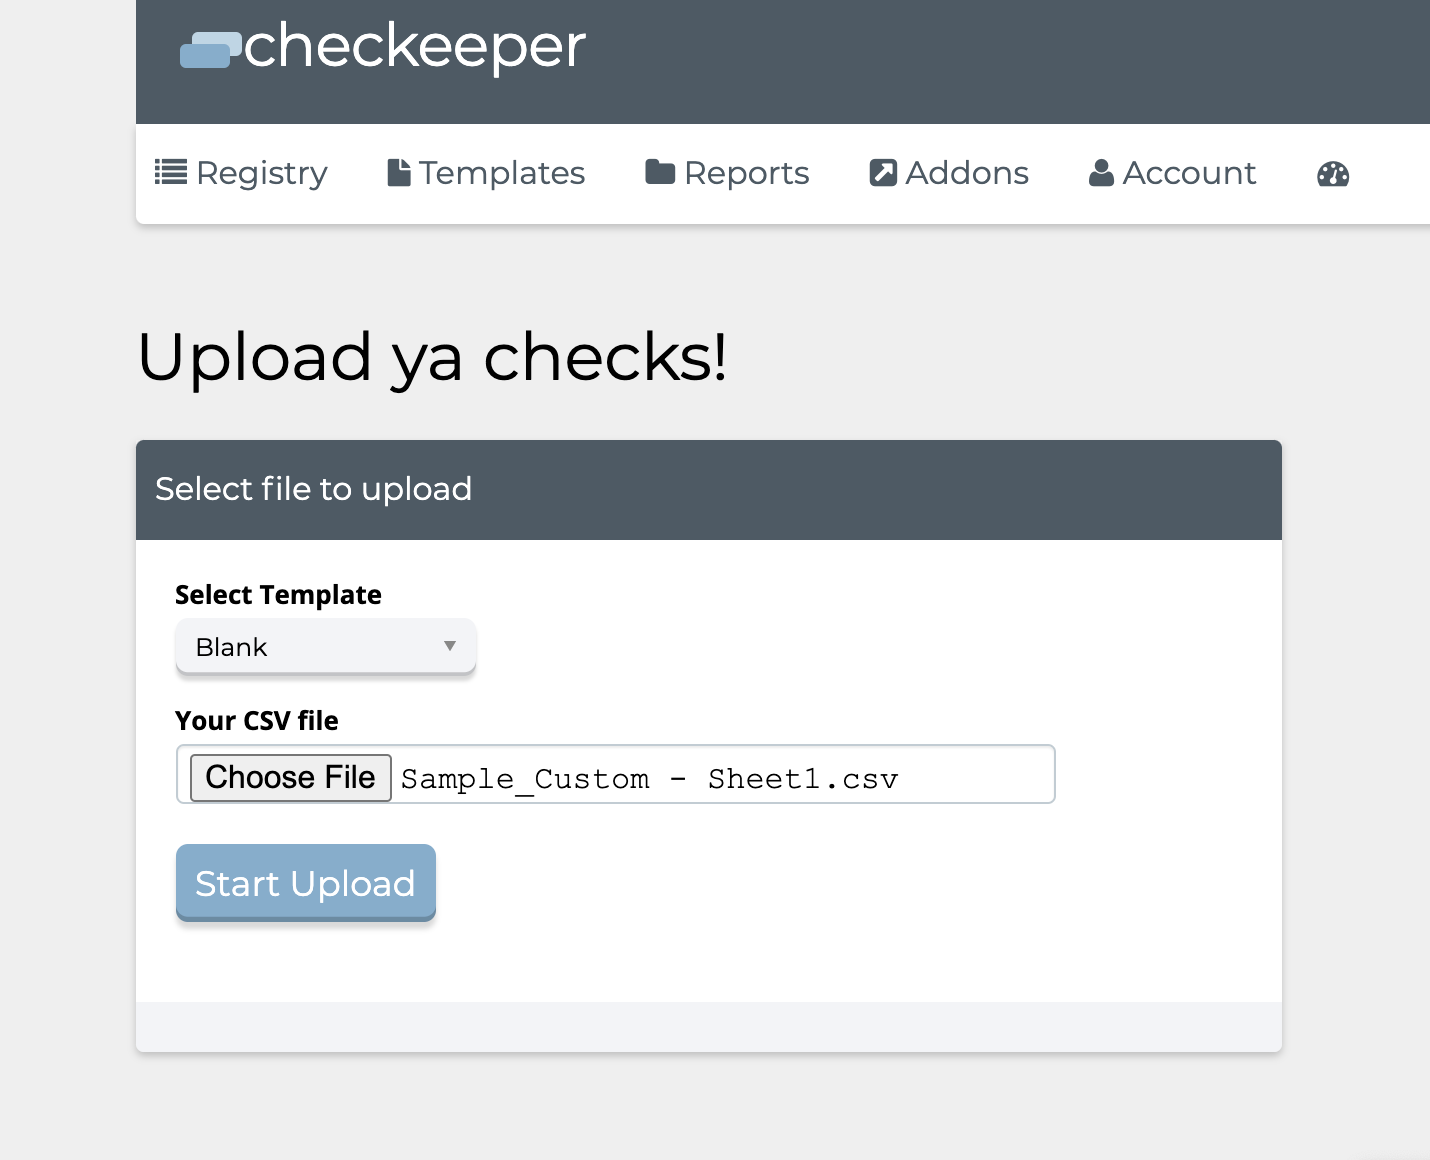
Now for the easy part. Once your file is complete, all you'll need to do is log in to your Checkeeper account, navigate to the Registry tab, and click the arrow icon next to the search button.
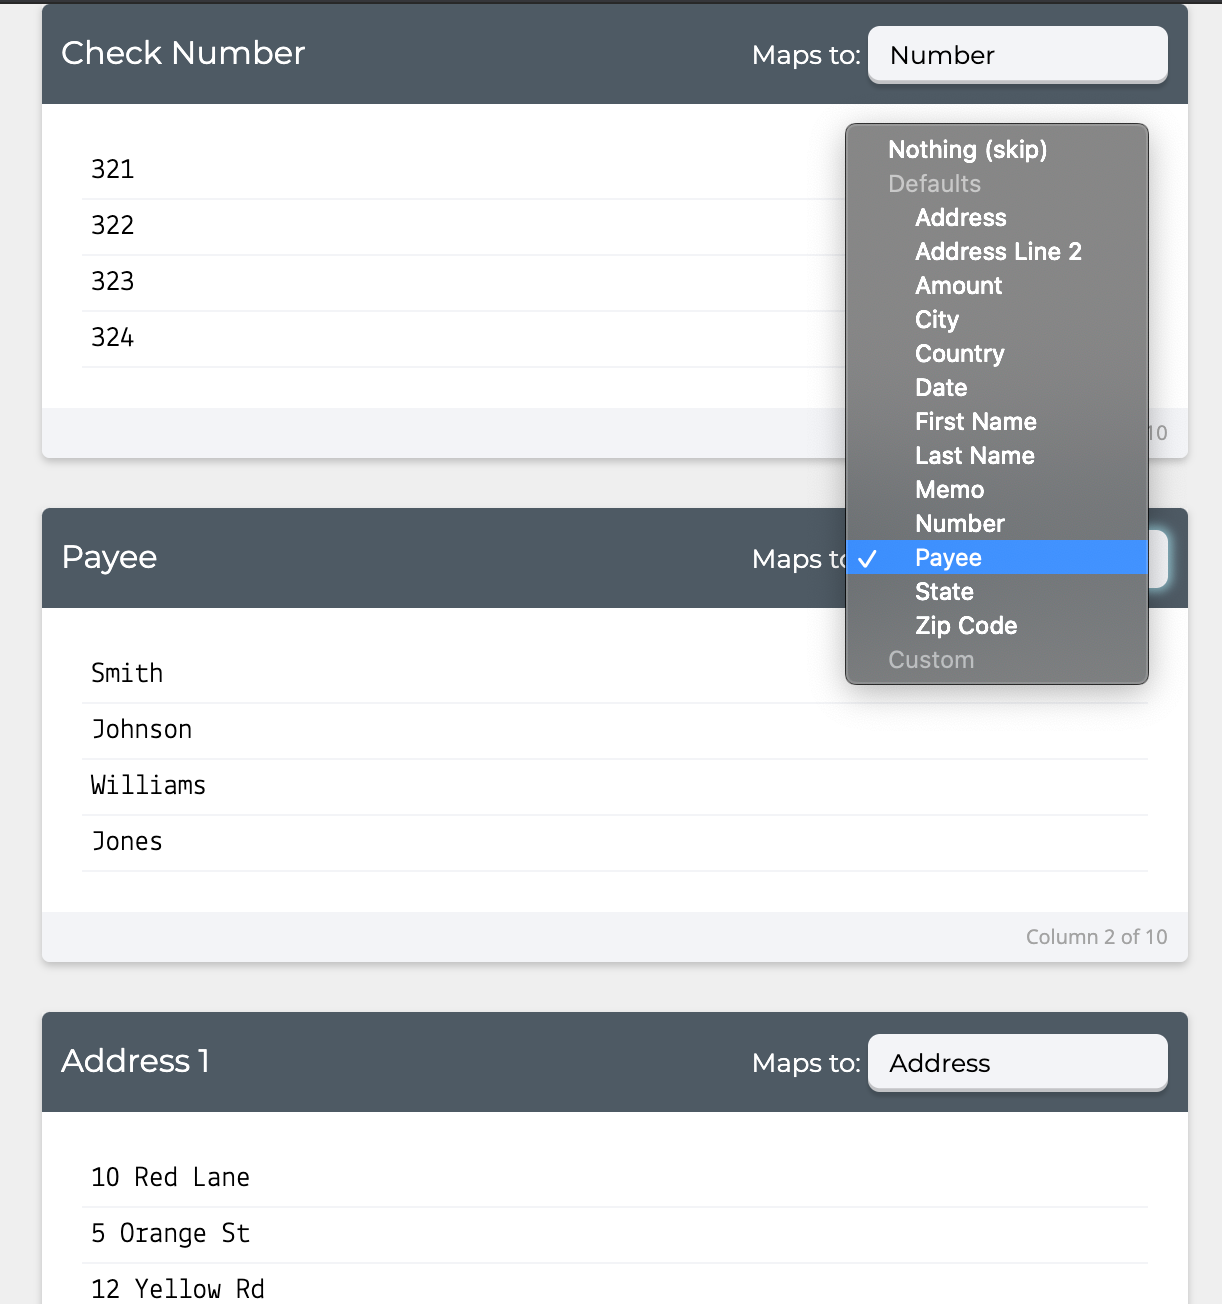
Select the check template you wish to use (your custom template if you made one) and the CSV file you wish to import, and then click "Start Upload." Once your upload is complete, you'll just need to make sure each column is assigned to the appropriate field. For each column of your check data, select the {{element}} it corresponds to.
Upload Errors
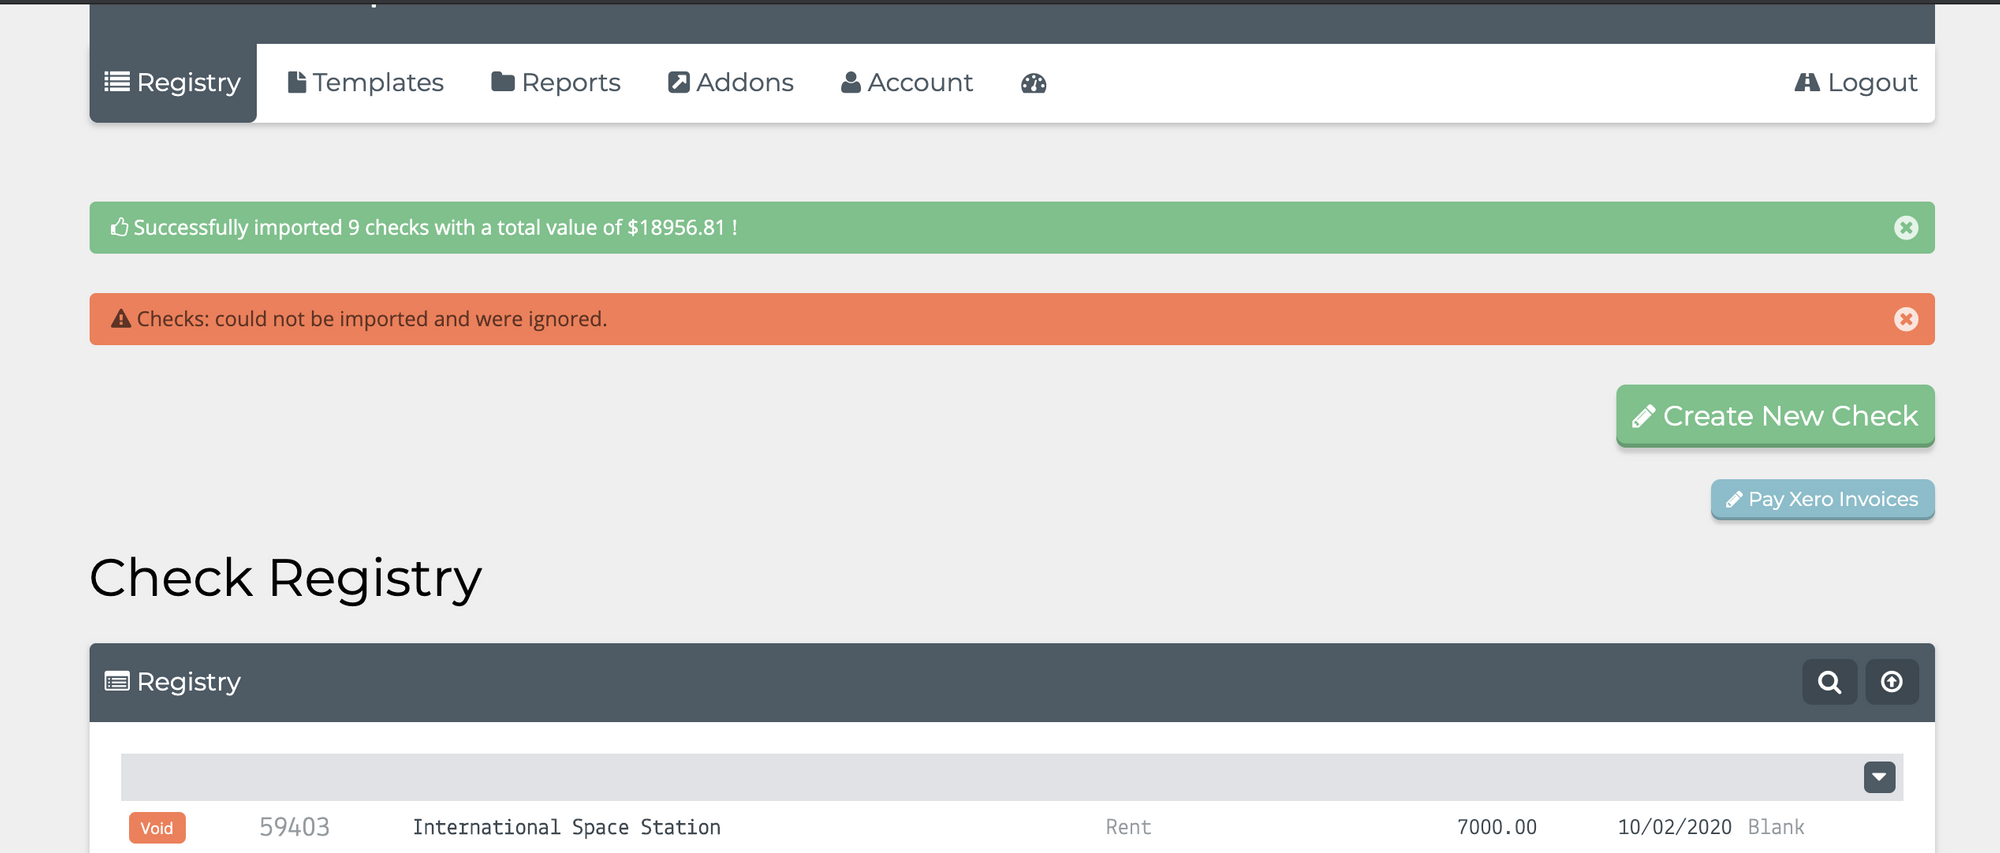
If you had some empty rows or cells in your spreadsheet, you may see an error like this one saying "Checks could not be imported and were ignored." Well, you can ignore that too. As long as the number of imported checks matches the number of checks you intended to import, you're all good. You can also reach out to [email protected] any time you have issues with this or any other Checkeeper feature.
For more helpful tutorials and updates, visit checkeeper.com/blog.