Add Images to Your Checks in 3 Simple Steps

At Checkeeper, we believe creating and personalizing checks should be as easy and painless as possible. That's why we've designed our template editor with awesome features like the ability to input bank information in seconds, a collection of several fonts to choose from, and even the ability to add images, like a signature or company logo, to any check. In this short tutorial, we'll walk you through the super simple, 3-step process of uploading an image to a check using the template editor.
Step 1: Click on the Images Tab
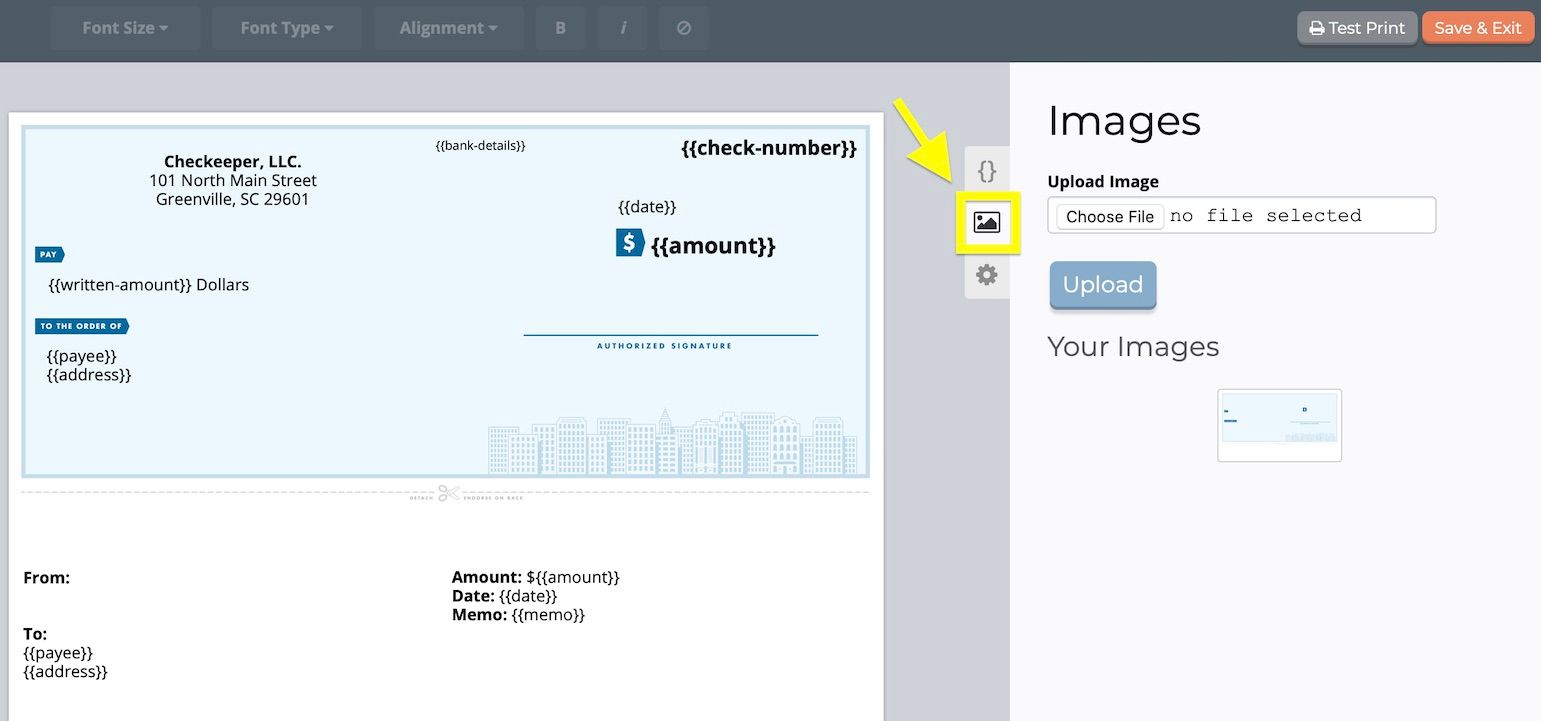
To get started, simply select the template you want to edit, and you're automatically going to be brought to the "Add Elements" tab in the template editor. To the left, you'll see two other tabs: an Images tab and a Settings tab. To add an image to your check, click the image icon.
Step 2: Upload Your Image(s)
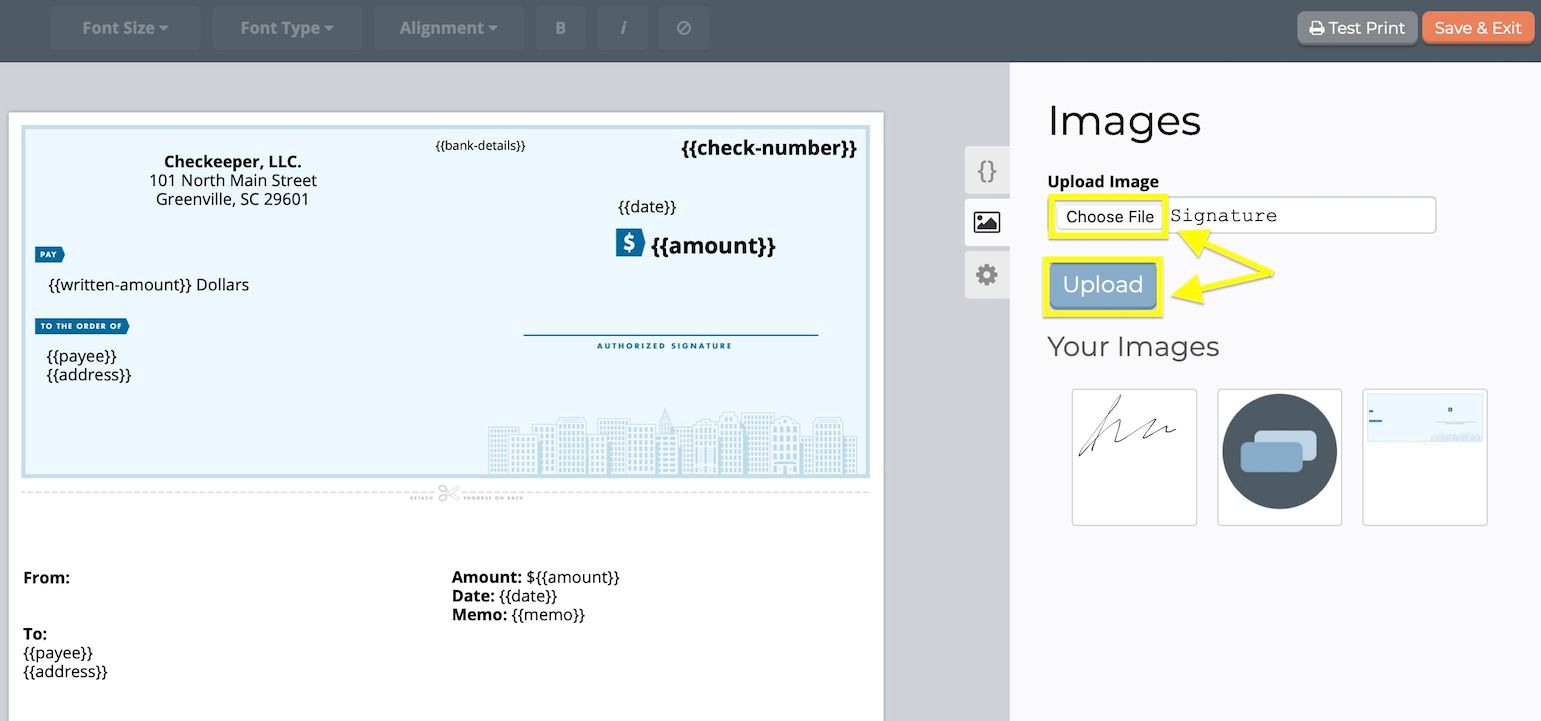
To add an image to your library, just click Choose File, select the image you want to import, and then click the blue Upload button to add it to Your Images.
Step 3: Click and Drag the Image onto Your Check
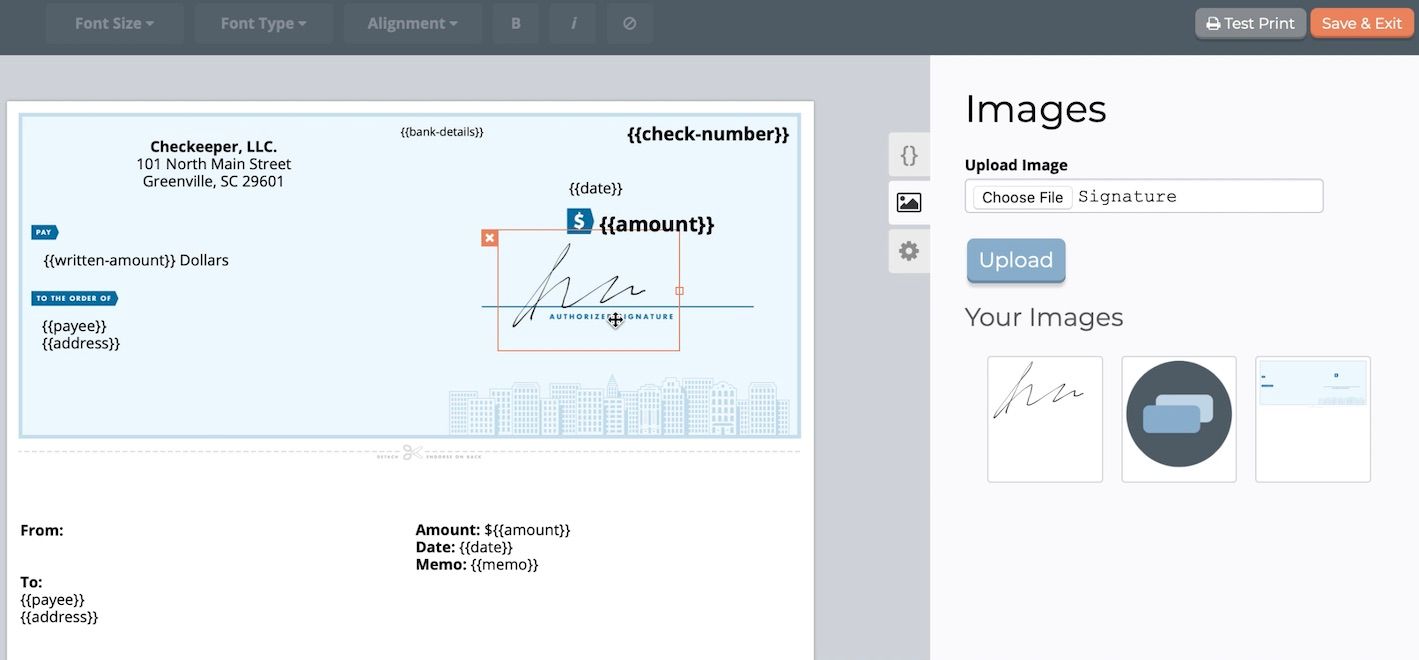
Now this image has been added to your library, and you can simply click and drag it anywhere on your check.
For more cool tutorials that'll help you make the most out of your Checkeeper account, visit our blog!